Android App with Local Nodes
Milestone 5 delivers the WalletConnect integration within the Interstellar Android wallet app, tied to Interstellar infrastructure.
In the scope of M5.2, the wallet-side Reown SDK integration is implemented in the Android wallet app through PR #32: https://github.com/Interstellar-Network/wallet-app-internal/pull/32 .
In the scope of M5.3, this wallet integration is complemented by the required pallet-side changes in the Interstellar infrastructure. PR #73 introduces the main pallet adaptations needed to support the “Sign in with Reown” flow, including compatibility with Reown AppKit / Lab test environments such as https://lab.reown.com/appkit/?name=ethers-all : https://github.com/Interstellar-Network/pallets-internal/pull/73 . In addition, PR #72 adds the small but necessary infrastructure-side capability to return the broadcasted transaction hash back to Reown after transaction submission: https://github.com/Interstellar-Network/pallets-internal/pull/72 .
Together, these PRs demonstrate that M5 covers the full WalletConnect/Reown path across both the Android wallet and the Interstellar pallet infrastructure: session handling, signing flow support, transaction broadcasting, and transaction-hash feedback to the requesting dApp environment.
The current interface has been adjusted to support efficient testing, while leaving room for further UX and UI refinements in the production-grade SDK.
Although the system is not yet production-ready, it provides a robust foundation. Broader edge case coverage, interoperability, and resilience guarantees will be the focus of the upcoming SDK and future milestones. Reviewers are encouraged to focus on the functional flow and experience of the key features in this milestone.
The following guide explains how to run the full Interstellar stack locally using Docker or Podman. You will be able to launch the Substrate node, Integritee TEE worker, and IPFS service, then interact with the system using the Interstellar Android demo app.
Launch Interstellar Stack with android demo app setup
This setup enables full offline testing without relying on a hosted VPS.
1. Launch the Interstellar Stack
Step 2: Download the stack config (link for M5 v2)
curl -L -o docker-compose.yml https://raw.githubusercontent.com/Interstellar-Network/containers/refs/tags/testnet-m5-v2/docker-compose.yml
curl -L -o docker-ipfs-init.sh https://raw.githubusercontent.com/Interstellar-Network/containers/refs/tags/testnet-m5/docker-ipfs-init.sh
chmod +x docker-ipfs-init.sh
2. Install the Android Demo App
Download the APK (link for M5 v2)
From the official Interstellar GitHub Release (specific APKs preconfigured to connect to localhost):
androidApp-arm64-release.apk— for Android devices and Apple Silicon(M1/M2/M3/M4)androidApp-x86_64-release.apk— for Android emulators running on x86_64 platforms (e.g., Windows PCs, Intel-based Mac)
Latest version recommended
Those links match the v2 release that fix the critical issues identified in the M5 review: C1, C2, C3, and C4 with a couple of additional fixes/improvements: H2 and M7 referred in Review follow-up:
Initial release links are still avalaible for transparency:
Docker compose file:
curl -L -o docker-compose.yml https://raw.githubusercontent.com/Interstellar-Network/containers/refs/tags/testnet-m5/docker-compose.yml
Previous app download: https://github.com/Interstellar-Network/containers/releases/tag/testnet-m5
During Milestone 5, our primary objective is to demonstrate the interoperability of some of core Interstelar's smart account features with Wallet Connect protocol and its core features (not an exhaustive test of the full WalletConnect/Reown features and capabilities).
Validate the connection to different Dapp through through QR code URI, as well as the signing and execution of transactions generated by the Dapps across differents chains.
At this stage, the focus is on ensuring correctness and robustness of the transaction pipeline at the infrastructure level. User-facing aspects such as application UI/UX, visual polish, or cosmetic design are not yet part of the milestone scope. Especially because our focus is the delivery of a mobile SDK.
WalletConnect — Tutorial
This guide explains how to:
- connect the wallet app to a Dapp through WalletConnect,
- verify that balances are fetched correctly after connection,
- test Solana Devnet and Ethereum Sepolia transaction signing,
- observe when PoHI / VCA is triggered through the Action Confirmation Screen.
Scope of this tutorial
For the current M5 delivery, the Reown test Dapp is used as a practical simulator for WalletConnect flows.
The currently validated test scope is:
- Solana Devnet: connection + transaction signing whithout transaction approval.
- Ethereum Sepolia: connection + transaction signing without and with approval flow through VCA / Action Confirmation Screen.
- Bitcoin: connection can be tested, but transaction execution is not covered in this tutorial because the Reown test Dapp uses Bitcoin Testnet3, while the wallet currently uses Bitcoin Testnet4.
For milestone validation, the reference end-to-end flow is Ethereum Sepolia, because it is the only flow in the current Reown lab setup that allows the testing of:
- WalletConnect session establishment,
- message signing,
- transaction signing, and
- transaction approval through the Interstellar PoHI / VCA flow.
Prerequisites
Before starting, make sure:
- the wallet app is installed and running,
- the WalletConnect integration build for M5 is used,
- internet access is available,
- you have access to the Reown test Dapp: https://lab.reown.com/
For the transaction tests on Solana Devnet and Ethreum Sepolia, you will also need:
- a wallet account already funded with Solana Devnet,
- a wallet account already funded with Ethereum Sepolia
1 — Connect to a Dapp
Reown provides a public Dapp simulator that is convenient for testing WalletConnect integration.
Open:
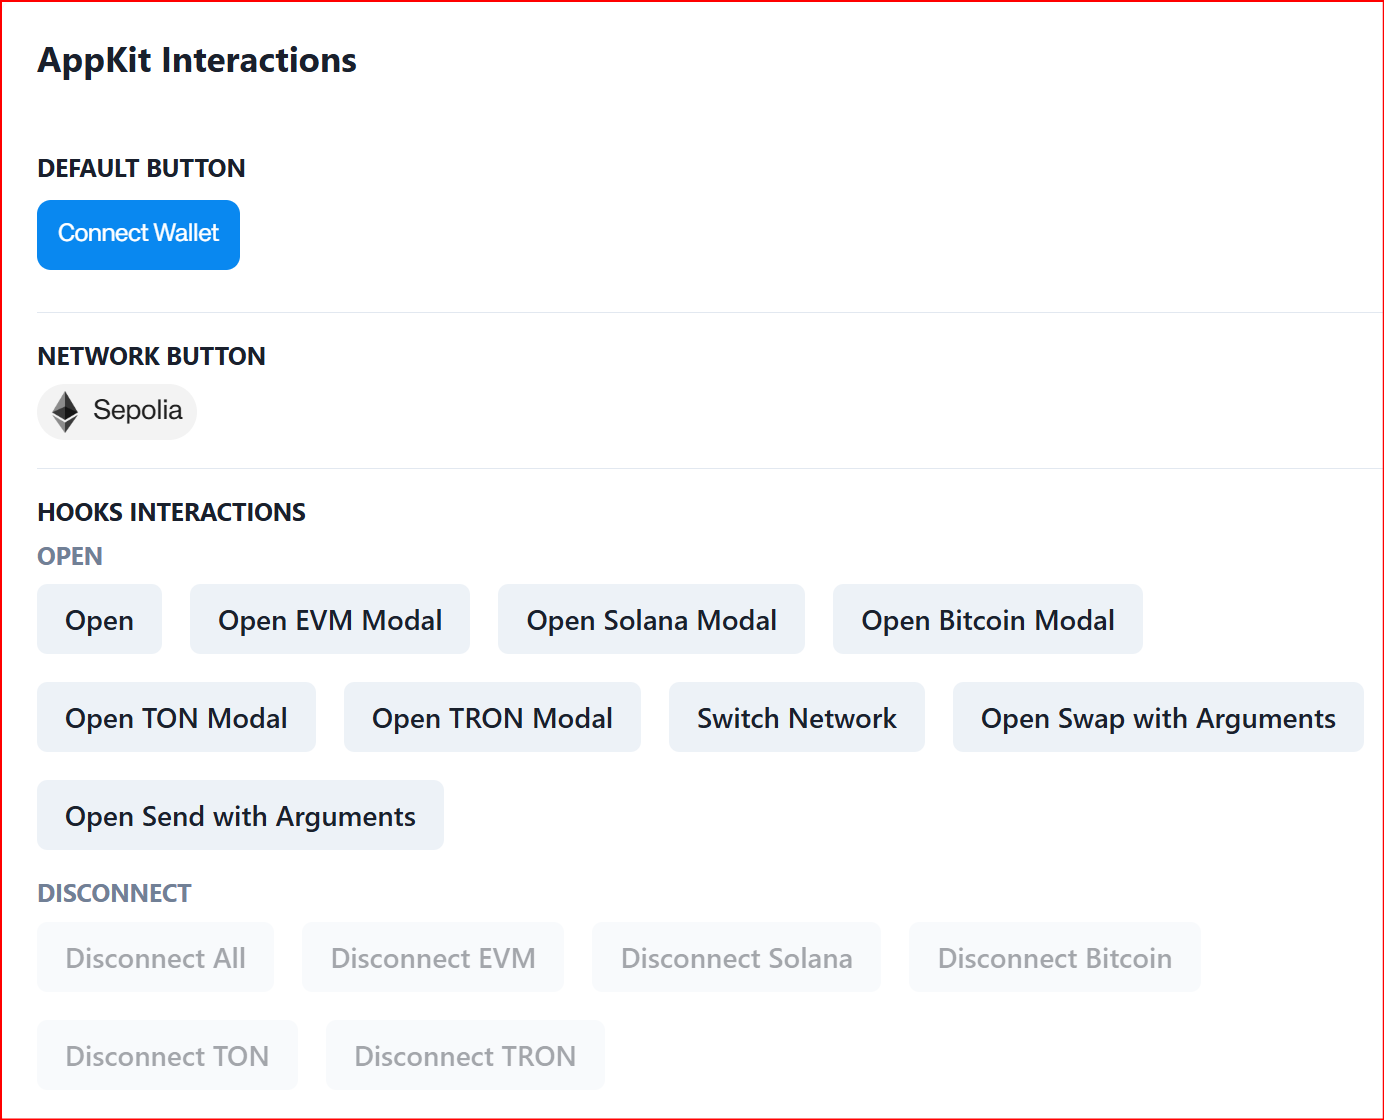
It is recomended to use Disconnect All, Disconnect EVM or Disconnect Solana etc.after either a website reload, switching Dapp, app restart or background/foreground; to avoid potential synchronization issues due to cookies and cache with the Dapp
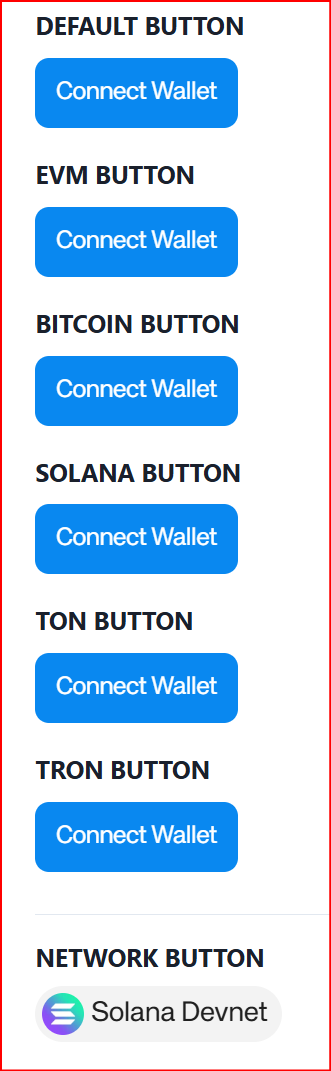
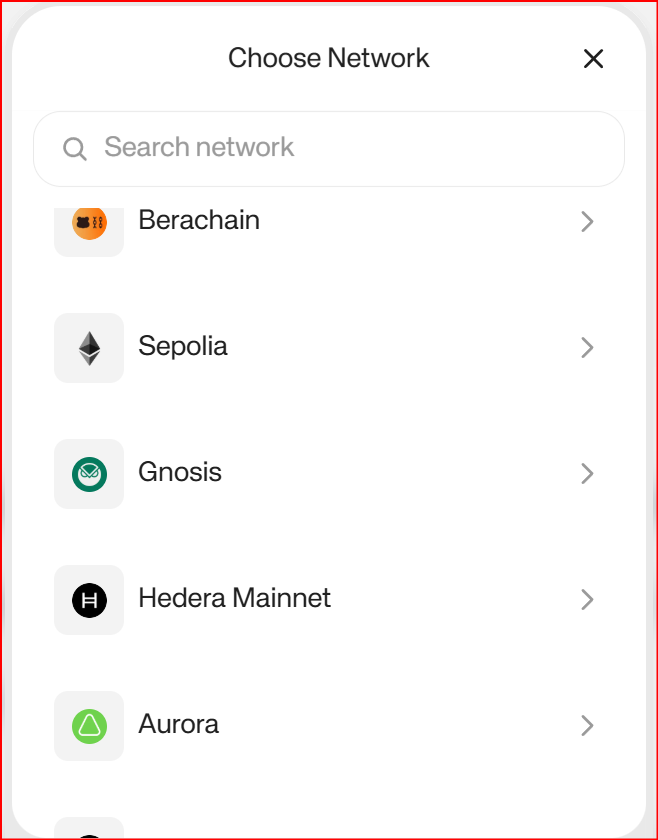
Step 1.1 — Configure the Connect Wallet button
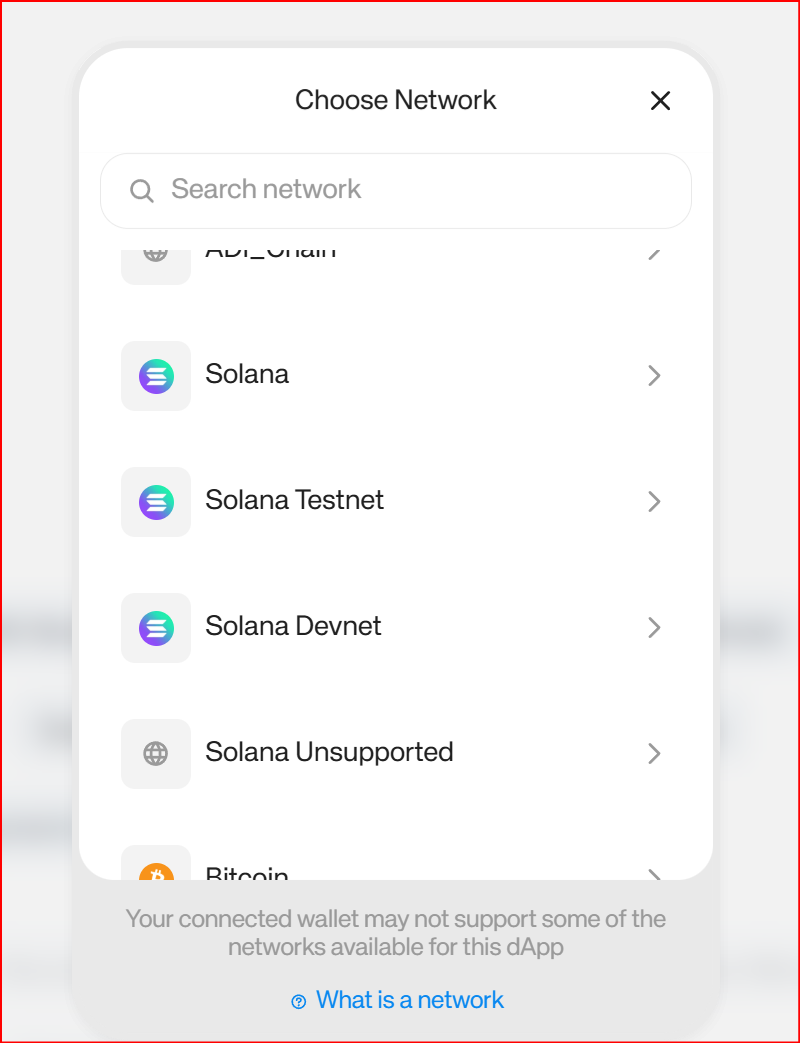
On the Reown page:
- Open the network selector
- Choose Solana Devnet

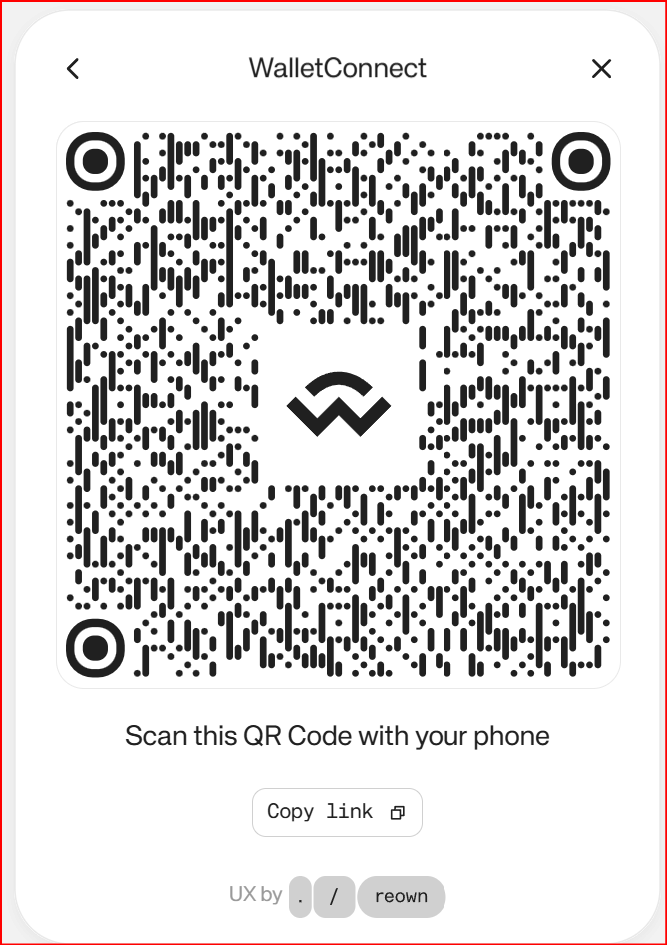
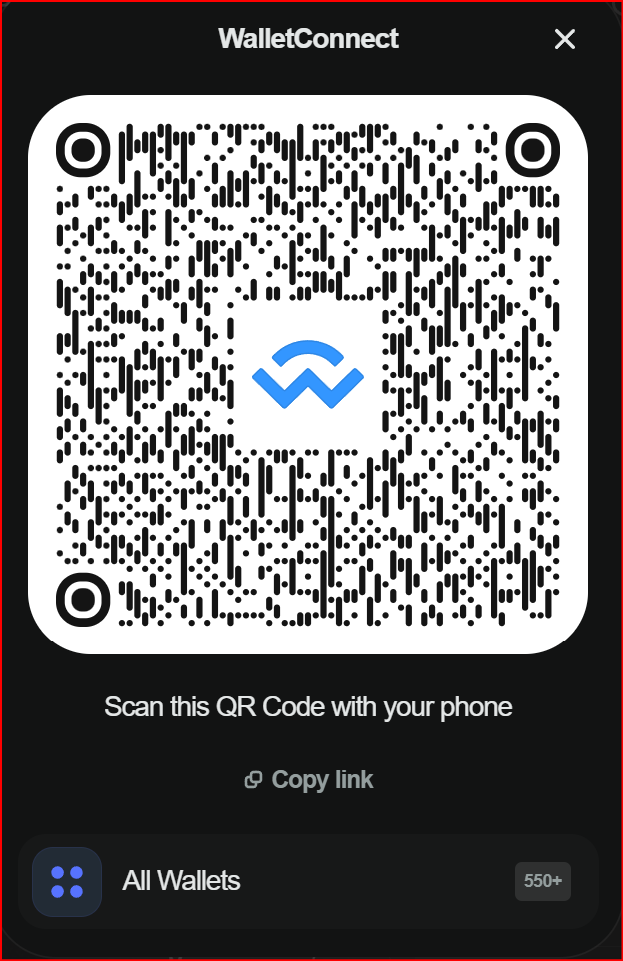
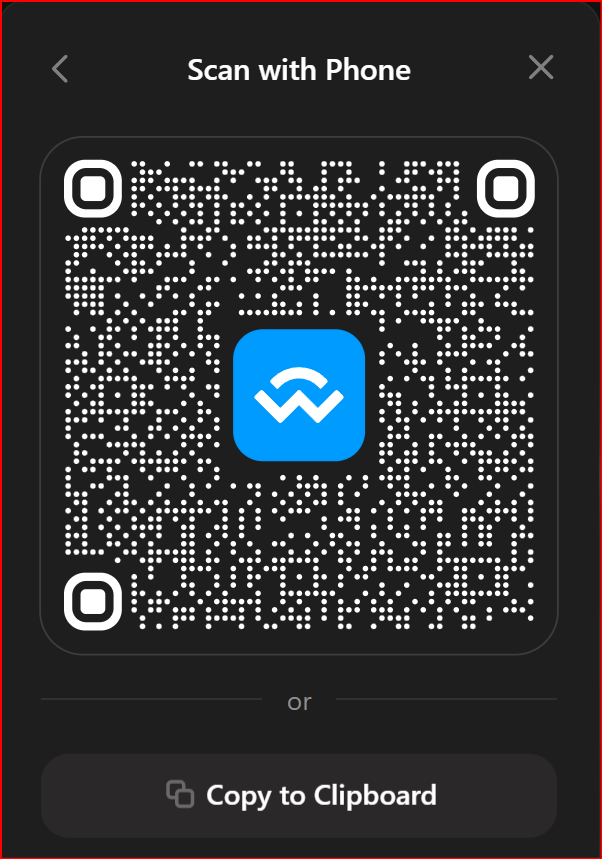
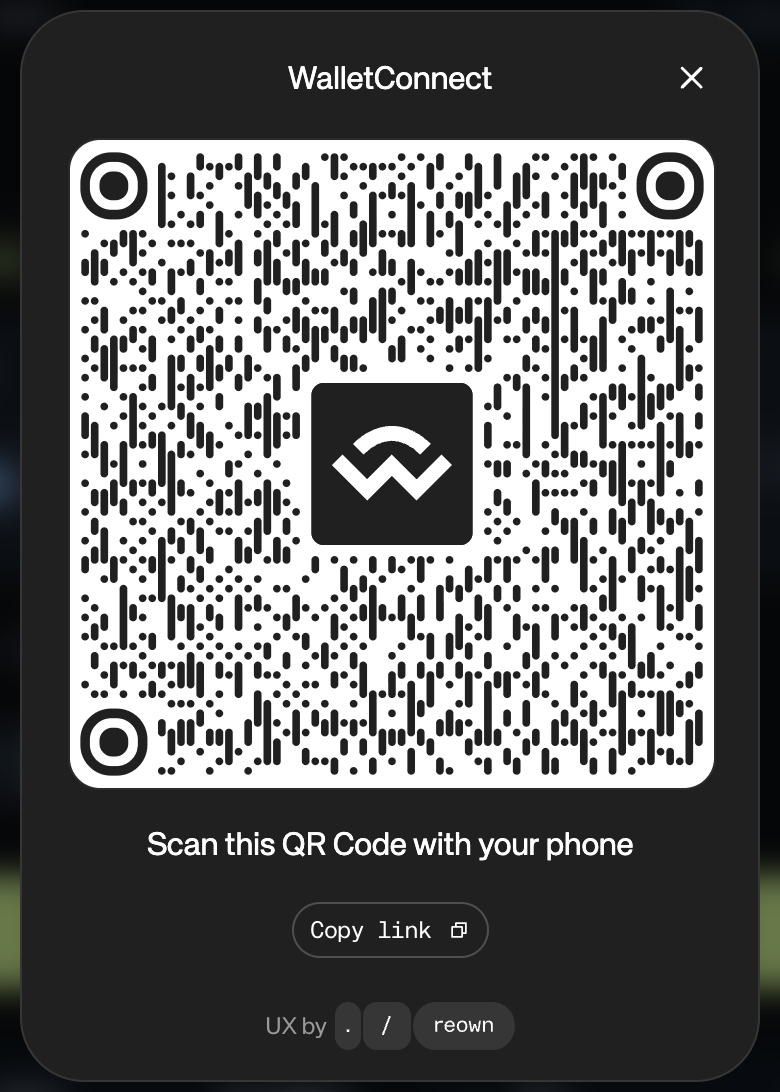
Step 1.2 — Get the WalletConnect URI
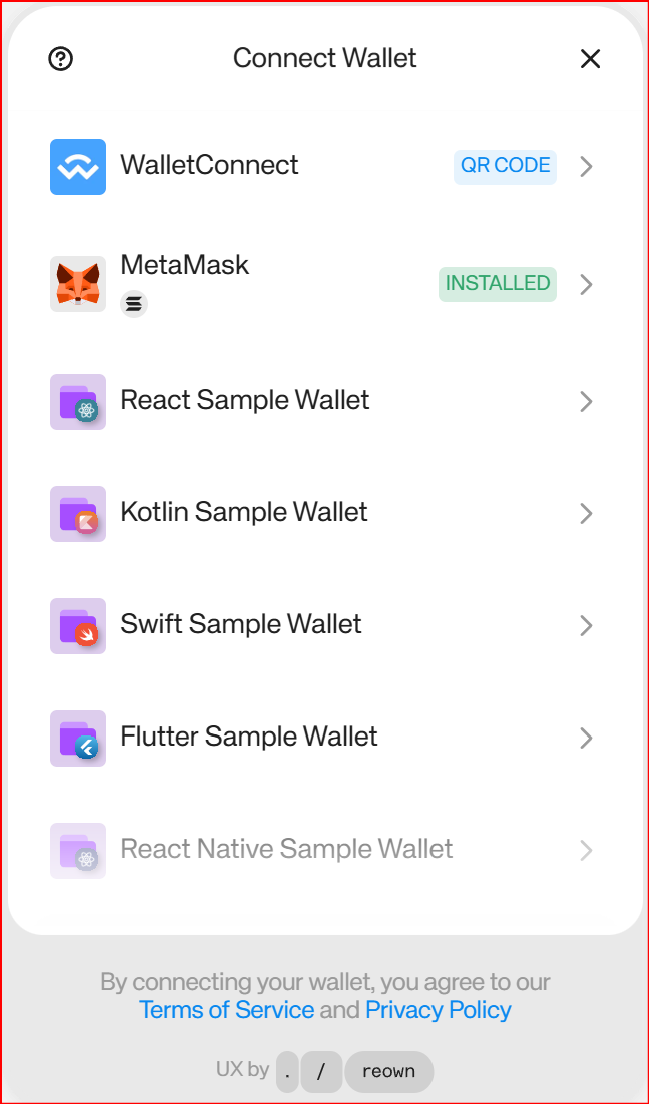
Once the button is configured for Solana Devnet:
- click the Solana connect button,
- choose the WalletConnect QR / link option,
- copy the WalletConnect URI.
Step 1.3 — Paste the URI in the wallet app and connect
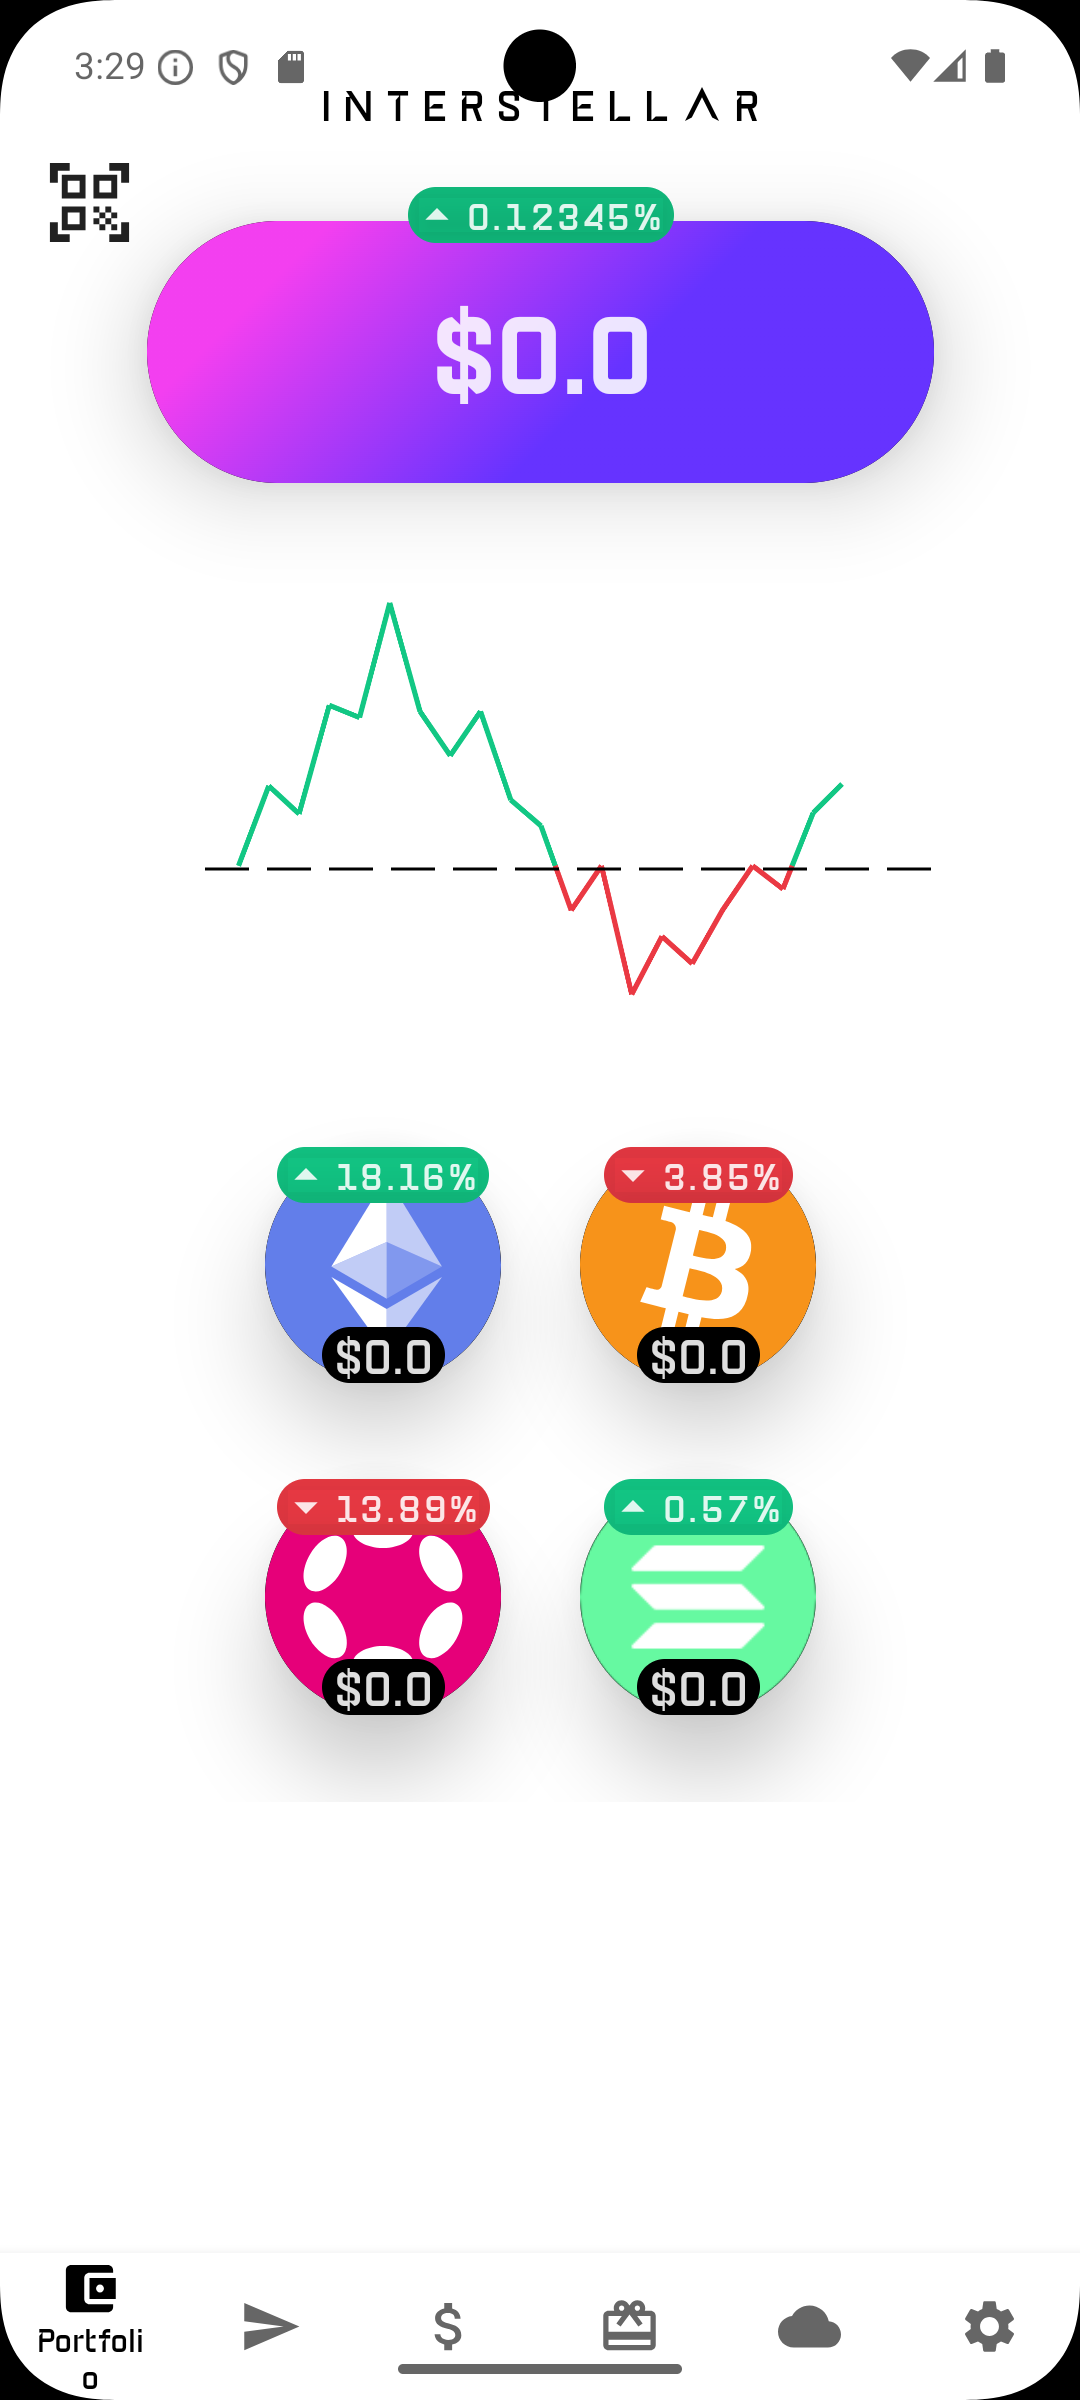
In the wallet app:
- go to the Portfolio or Send screen,
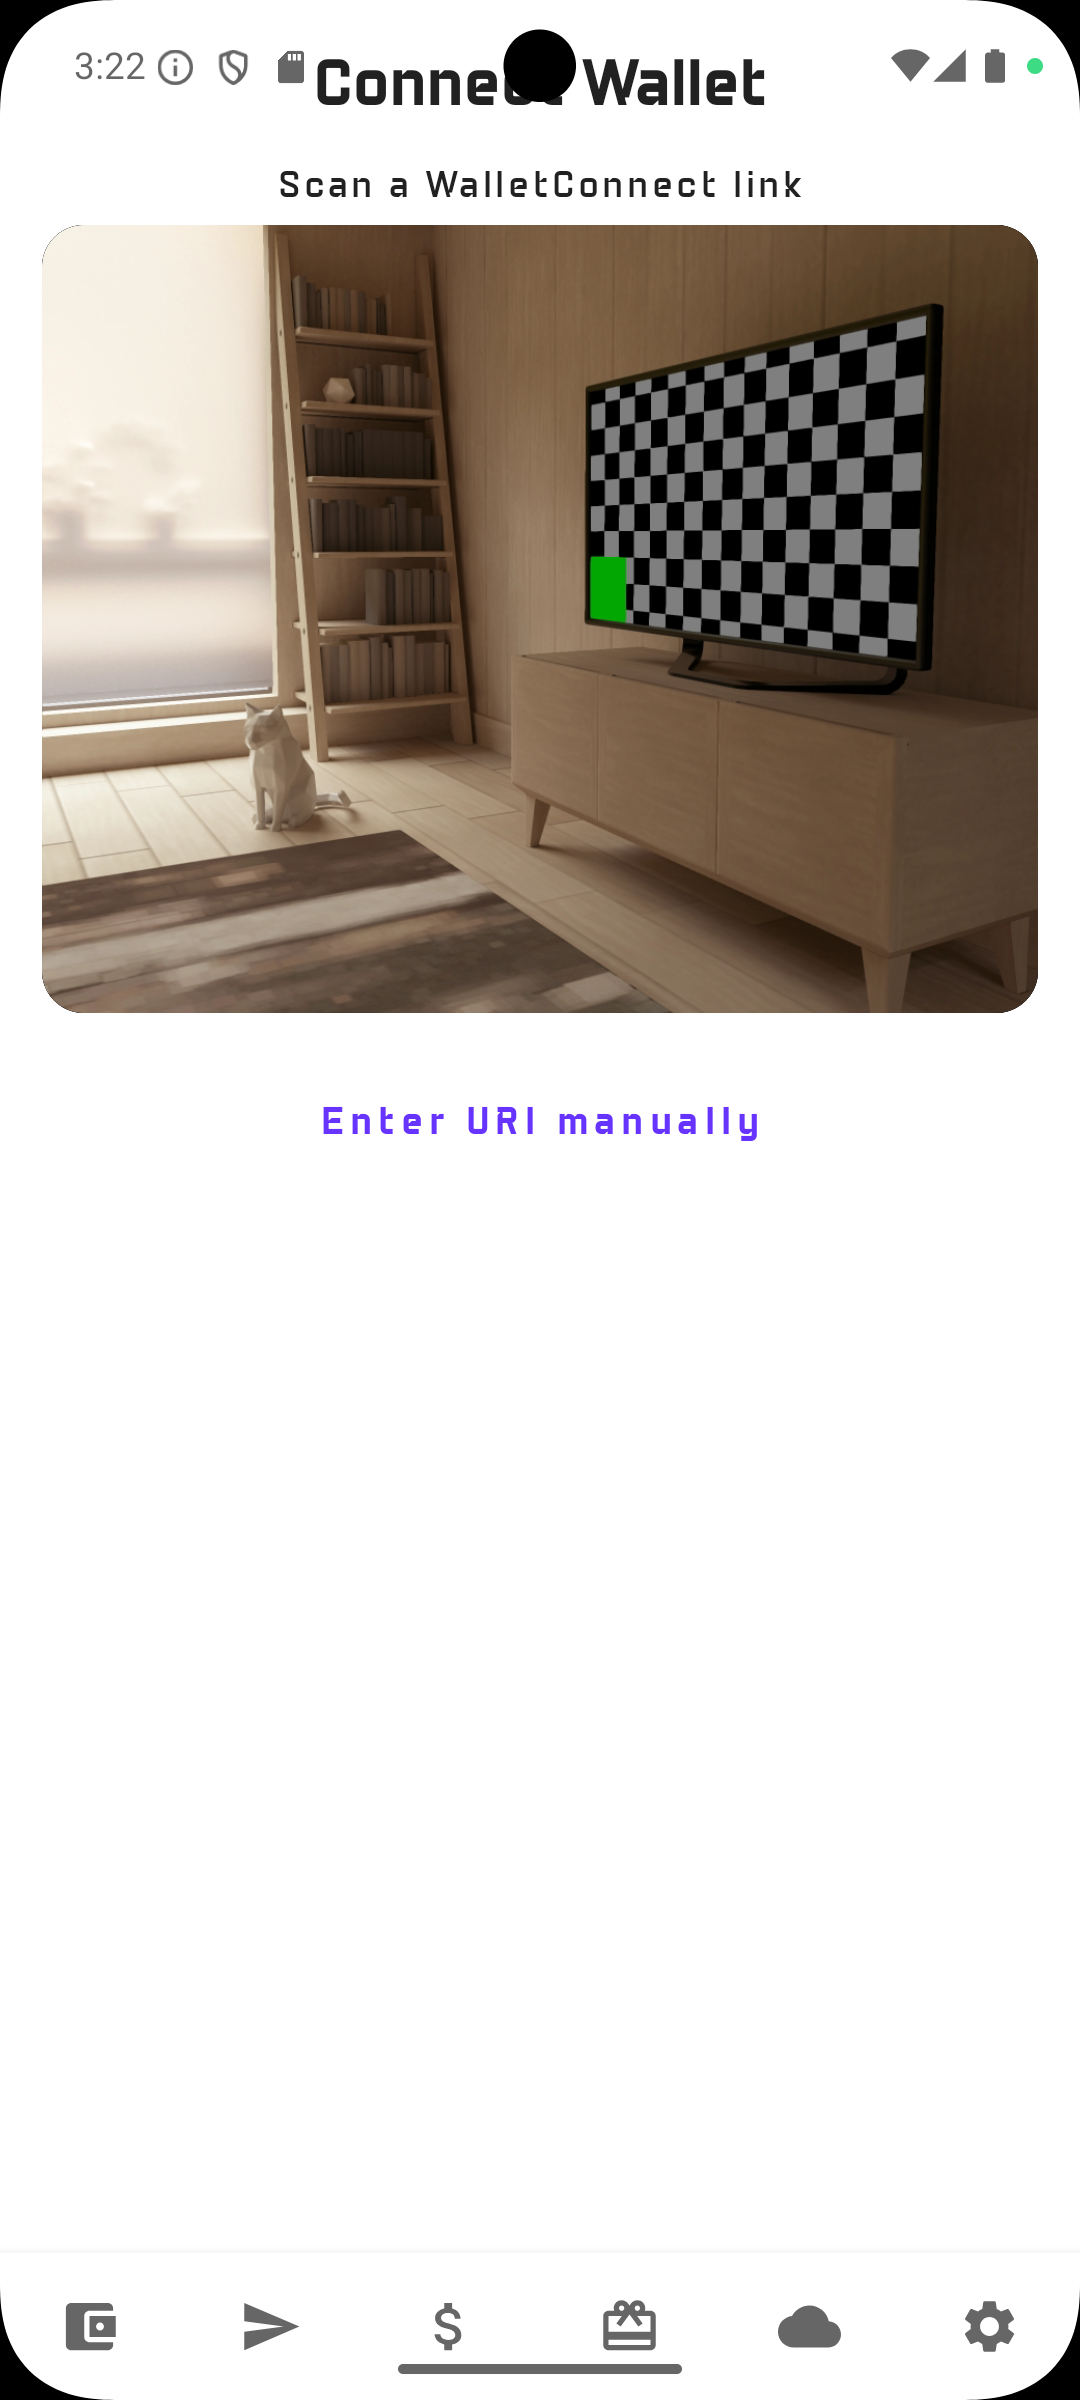
- click on the QR code icon on the top left of the screen
- click on the Enter URI manually button
- click on the blank space on top of
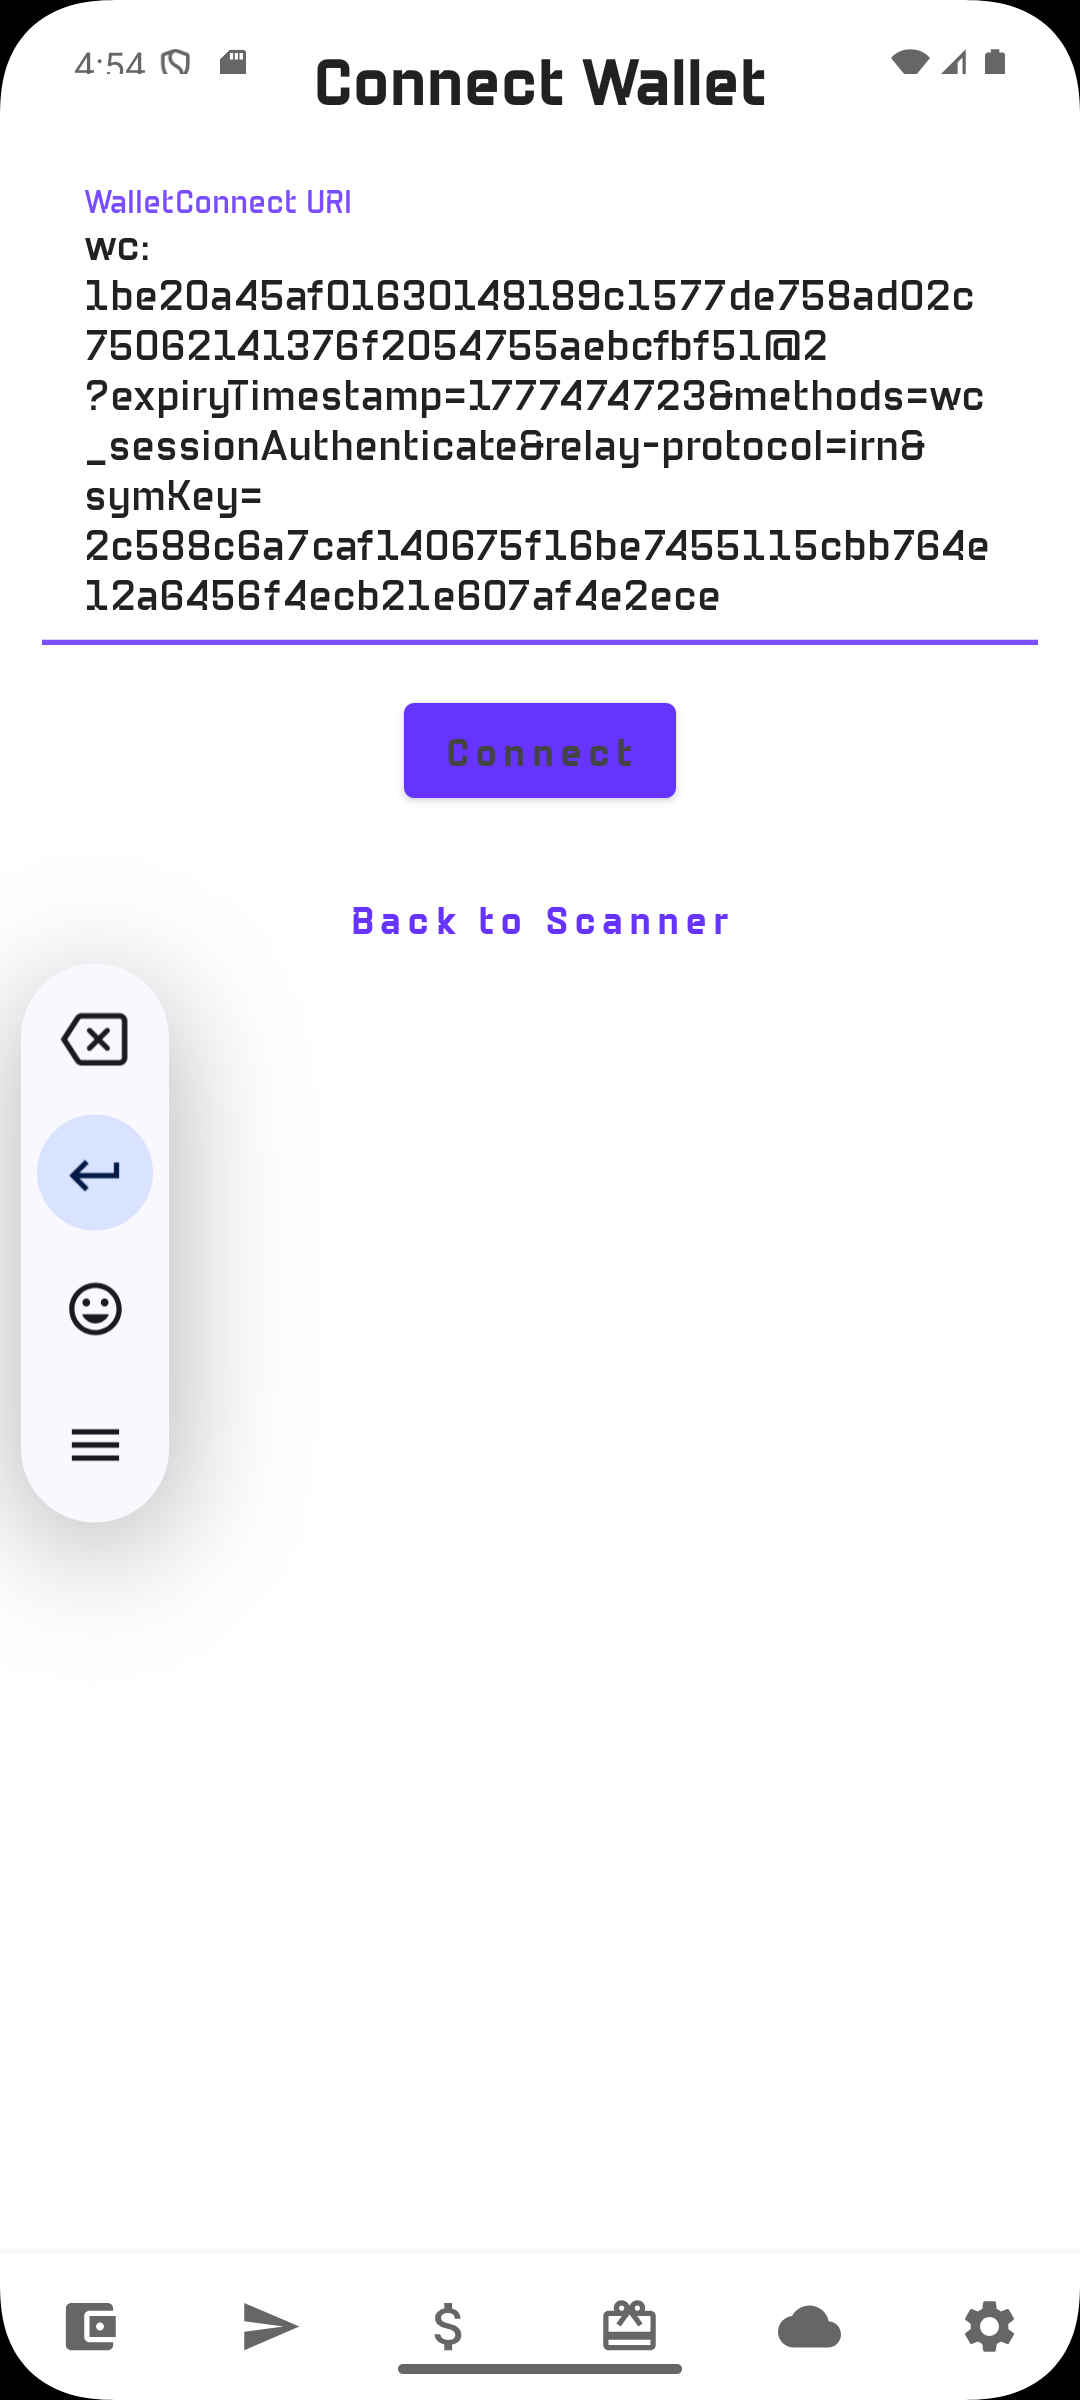
Connectbutton, - paste the WalletConnect URI,
- click Connect.

Enter URI button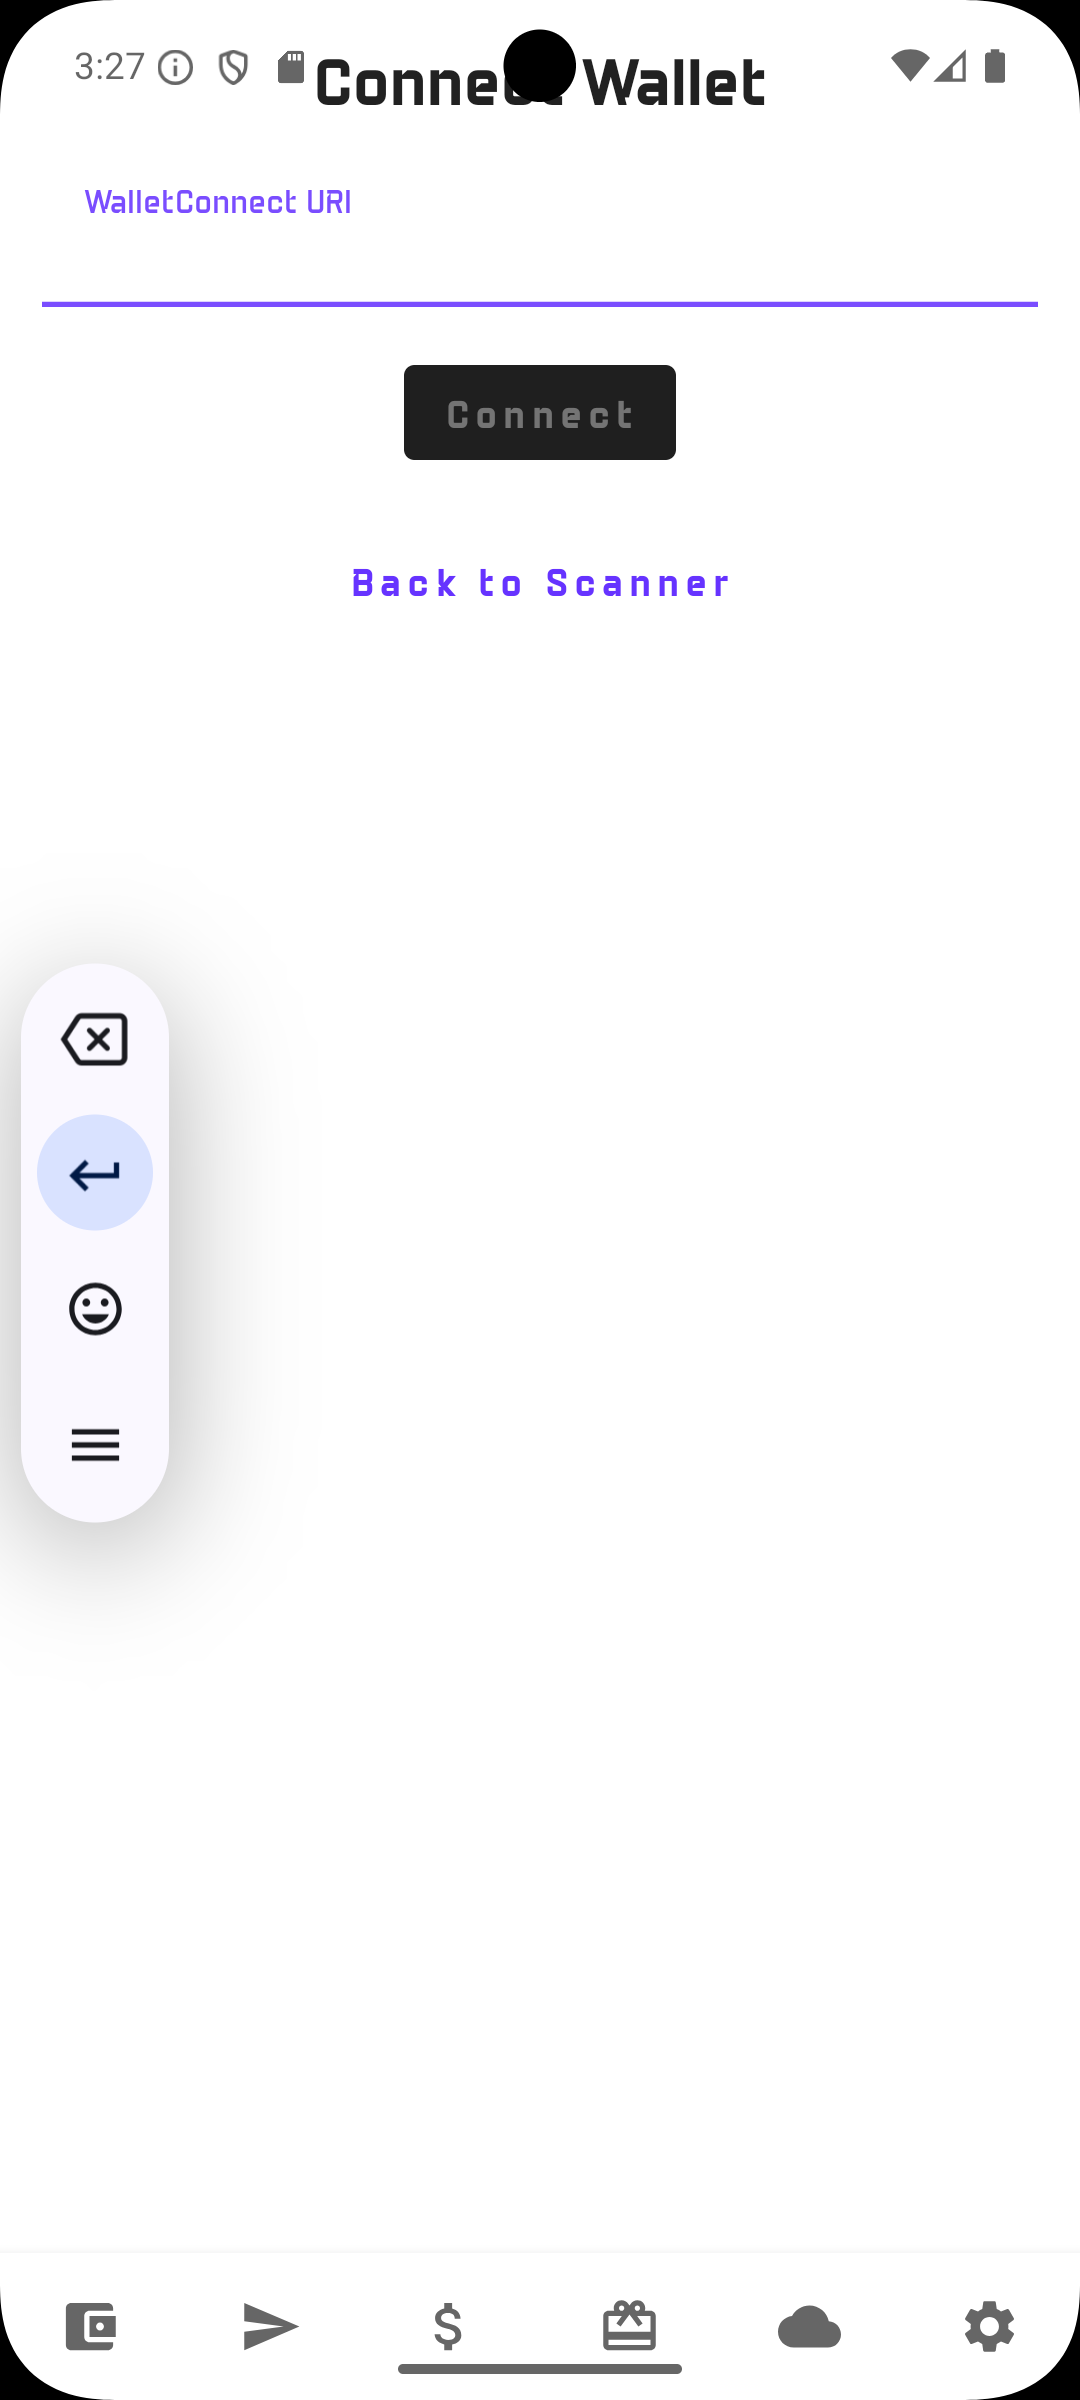
Connect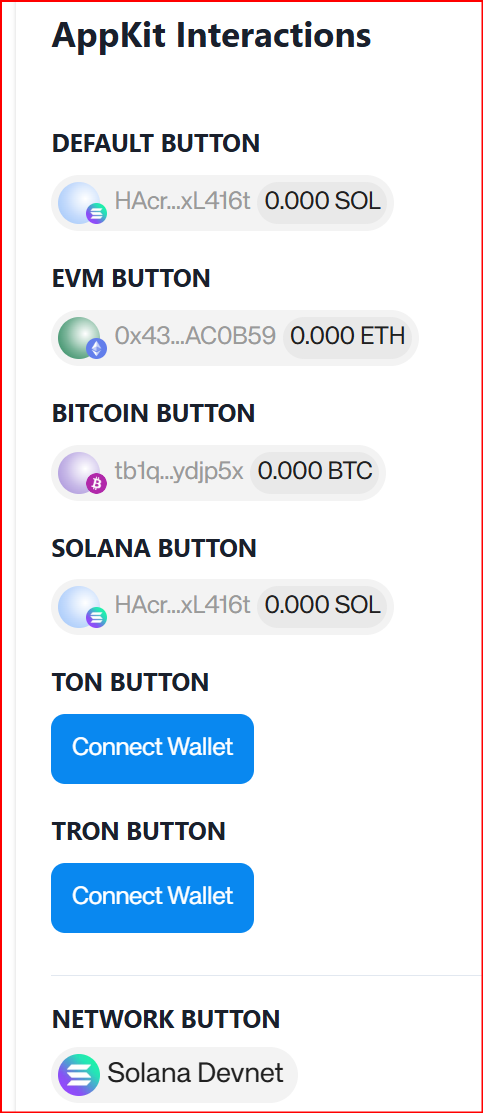
Expected result
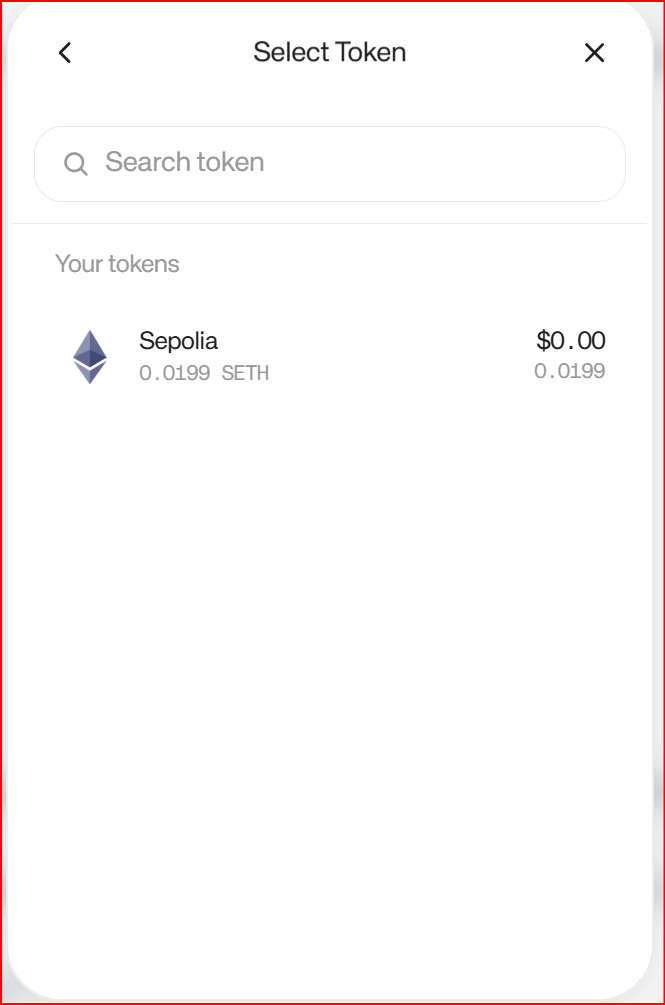
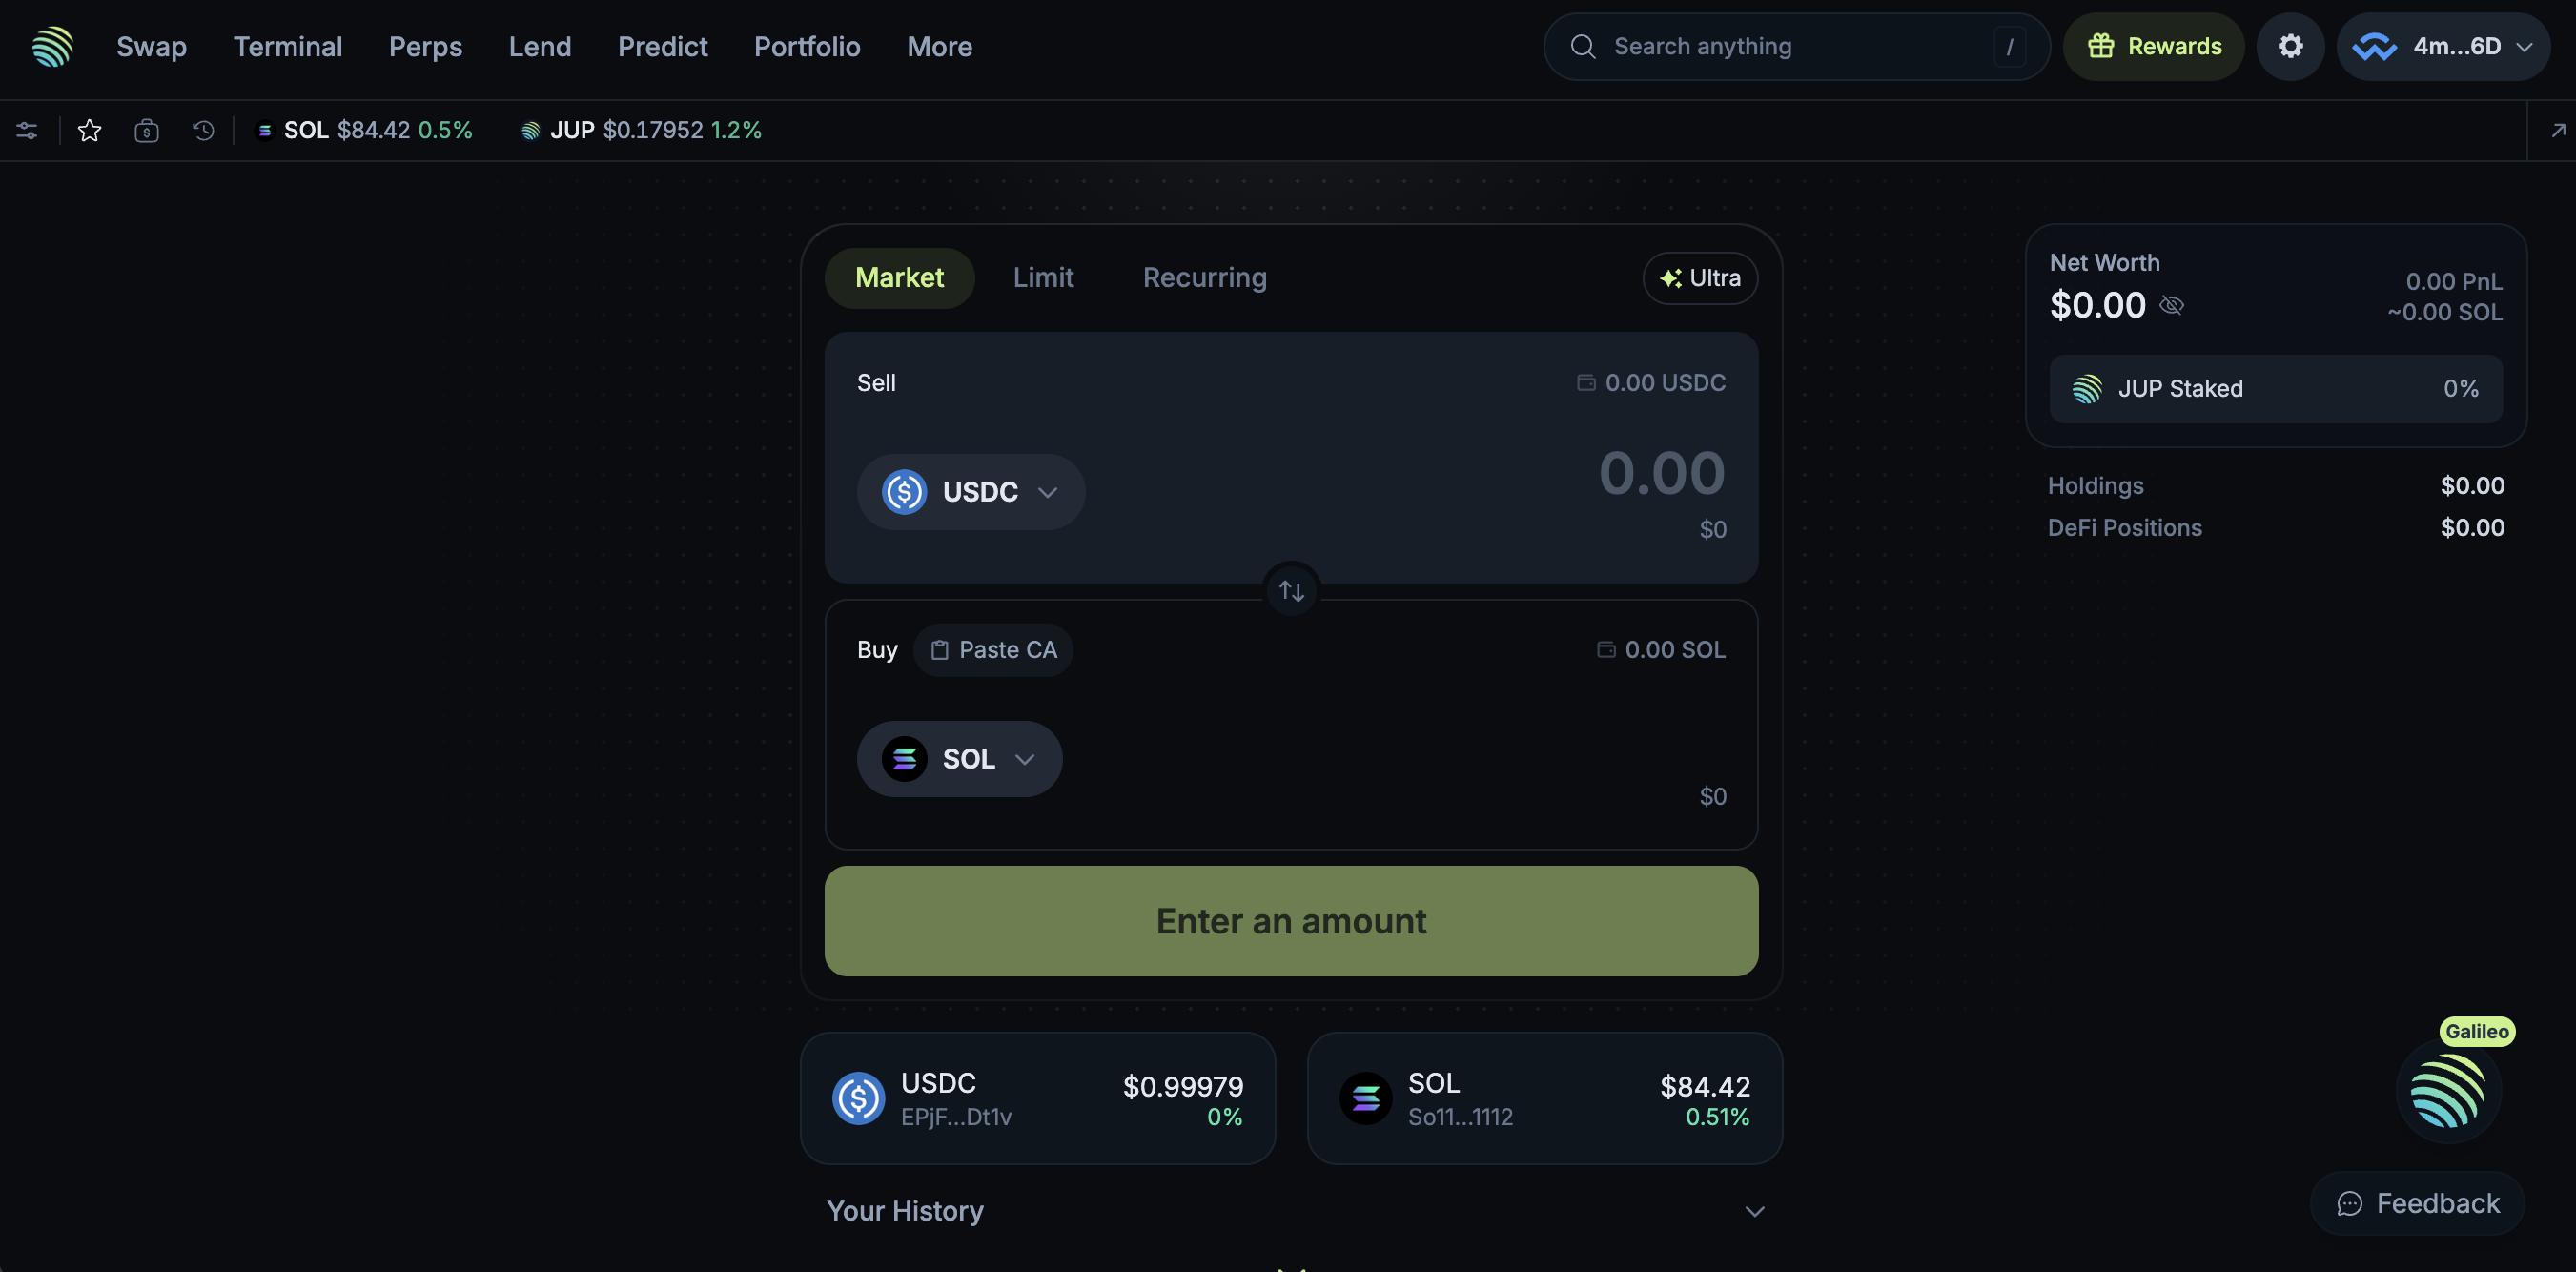
The Dapp session is established and the wallet refreshes account data. In the current implementation, the wallet fetches balances for the supported chains linked to the account view.
After the WalletConnect session is established, the wallet may initially display a zero balance for SOL, ETH, BTC if the account has not yet been funded. This is expected and can be confirmed in logs.
Bitcoin can be used to validate WalletConnect connection only.
A transaction flow is not covered here because:
- the Reown test Dapp currently uses Bitcoin Testnet3,
- the wallet implementation used for M5 is configured for Bitcoin Testnet4.
This mismatch prevents an end-to-end transaction validation through the public Reown test page in the current setup.
2 — Dapp transactions signing without approval
2.1 — Fund the Solana Devnet and Ethreum Sepolia account
To test transactions, first fund the Solana Devnet account.
You can use the existing guide here:
Once the wallet receives funds, the displayed balance changes accordingly.
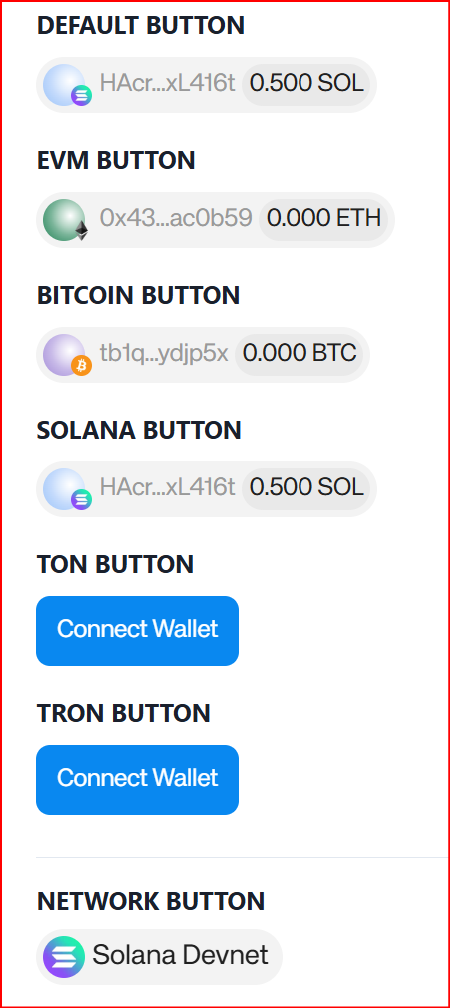
In the captured example for this tutorial, the account is funded with 0.5 SOL on Solana Devnet
2.2 — Test transaction signing on Solana Devnet
However, in the current Reown basic Dapp lab flow, this Solana transaction test is limited:
- it targets a predefined destination,
- it does not provide the same adjustable approval scenario as the following
2.4Ethereum tests,
This Solana flow exposed by the Reown lab allows testing signing transaction but whithout the approval flow as the ammount is hardcoded.
In this scenario, the transaction is signed by the wallet returned to the Dapp, and the Dapp will send the transaction to the network.
Scroll down to the SIGN AND SEND TRANSACTION (WALLET) section NOT (DAPP) one in the Solana test page.

Sign and Send Transaction2.3 — Test message signing on Solana Devnet
-
Connect or reconnect
-
Scroll to
Solana Test Interactions -> Sign Message

Sign Message2.4 — Test connectivity and transaction signing (without approval) on Sepolia network
Ethereum Sepolia can be used to validate WalletConnect connectivity and transaction signing.
However, in this basic Reown basic Dapp lab flow, this ETH transaction test is limited:
- it targets a predefined destination,
- it does not provide the same adjustable approval scenario as
2.4Ethereum tests,
This Ethereum flow exposed by the Reown lab is the basic one that allows testing signing transaction whithout the approval flow but also whithout message signing.
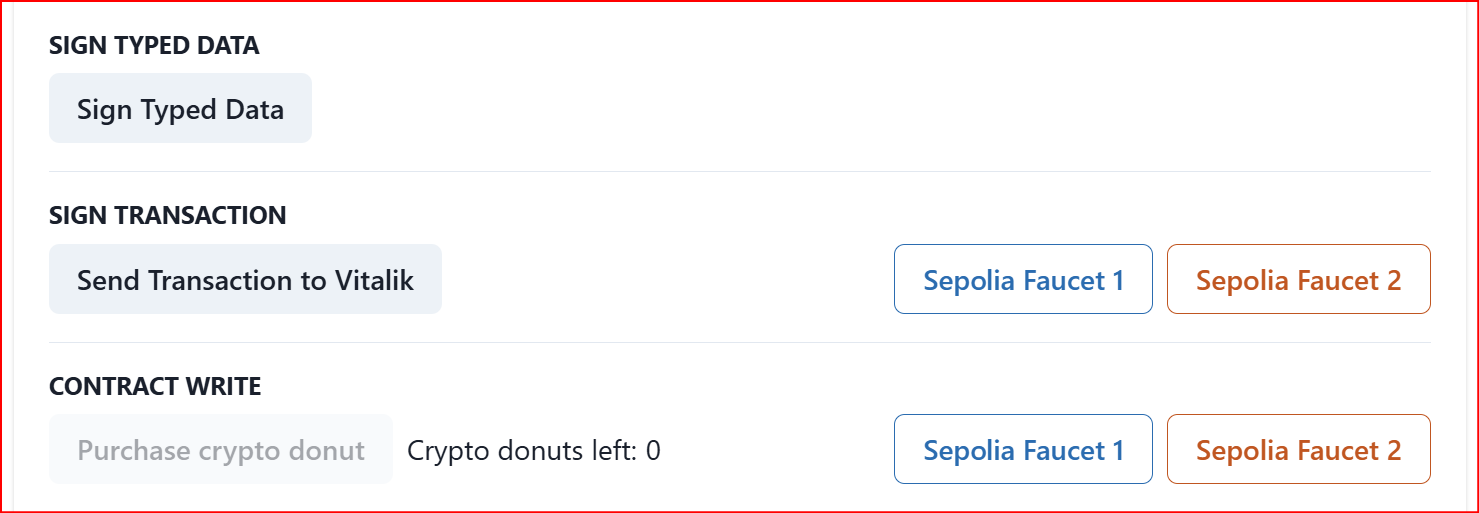
Send Transaction to Vitalik2.5 — Test connectivity and transaction signing with approval on Sepolia network
At the moment, this Ethereum flow exposed by the Reown lab is the only one that allows testing the approval flow through Interstellar’s VCA / Action Confirmation Screen.
Go to this specific reown page
Step — 2.4.1 Connect to the Dapp
Copy paste the WalletConnect URI in the wallet app and click on Connect
Same flow as previously explained
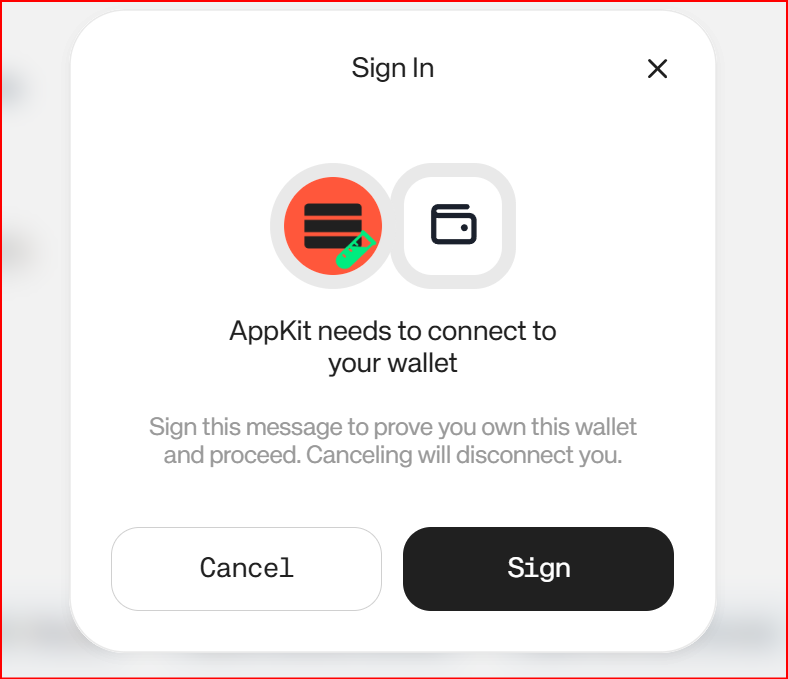
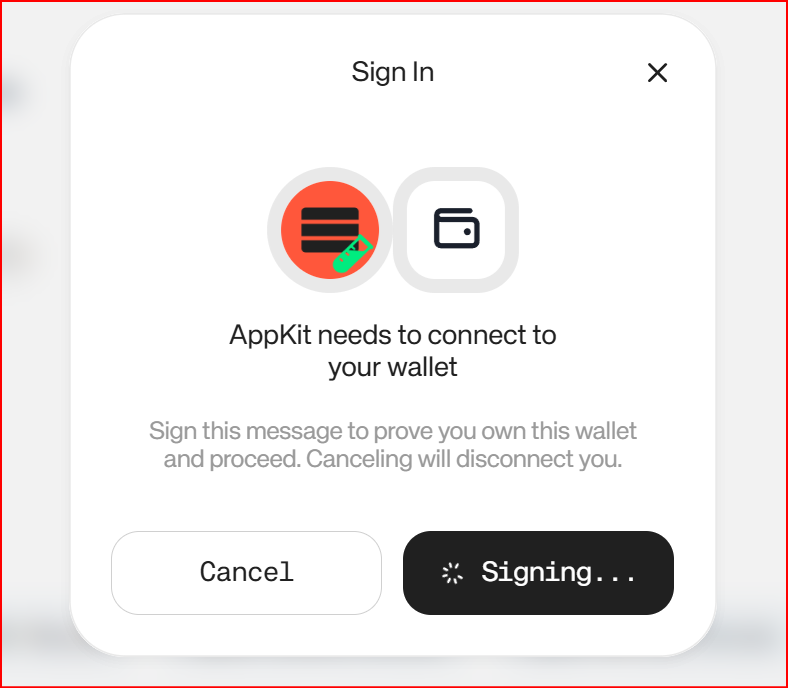
Dapp required a signed message (not a transaction) to enable connection
Step 2.4.2 — test transactions
Once connection is established with the Dapp, set-up the transaction parameters

Threshold behavior
For this test environment, a conditional validation threshold is configured.
- a transaction below the threshold can be signed without VCA,
- a transaction above the threshold triggers:
- transaction preparation,
- secure message generation,
- VCA challenge generation,
- Action Confirmation Screen,
- final confirmation before broadcast.
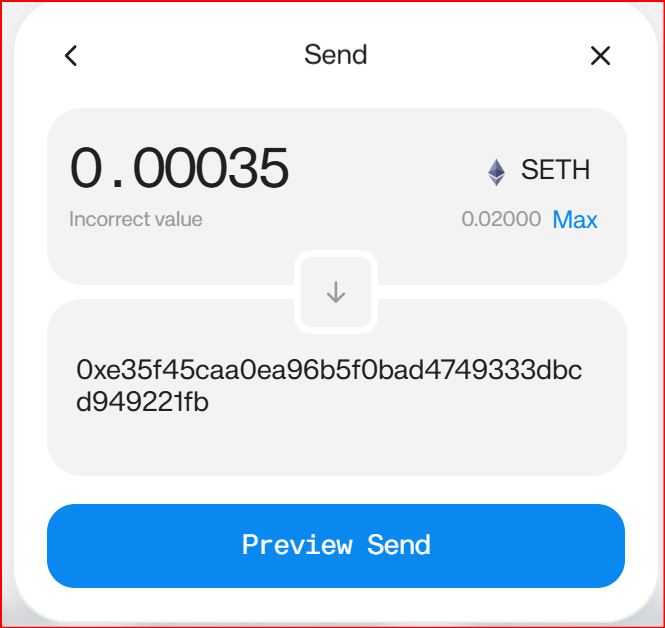
Use an amount greater than 0.00030 ETH to trigger the VCA / approval flow. Conditional Transaction Validation Threshold
Then copy past your ETH wallet address and click on Preview Send then Send transaction.
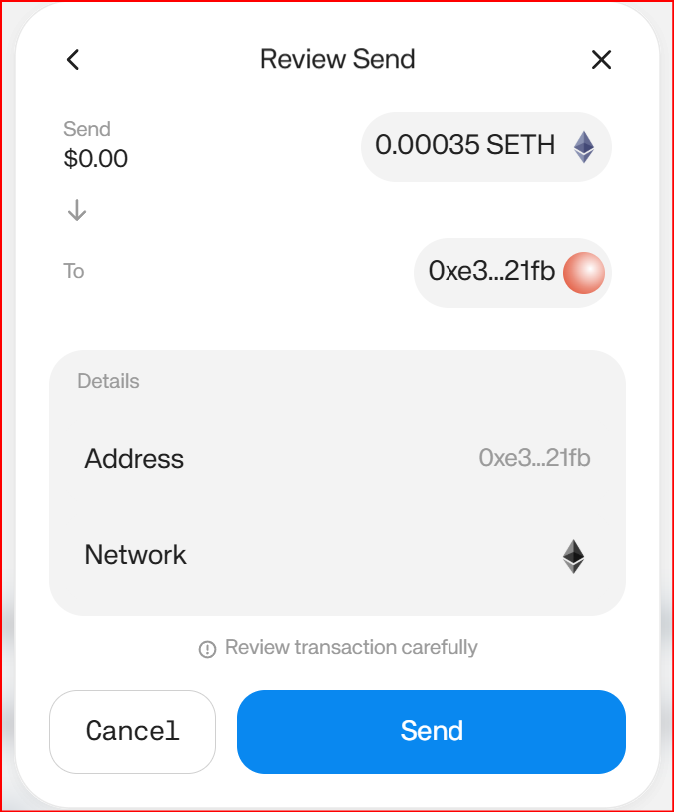
- Then the VCA confirmation screen appears in the wallet app
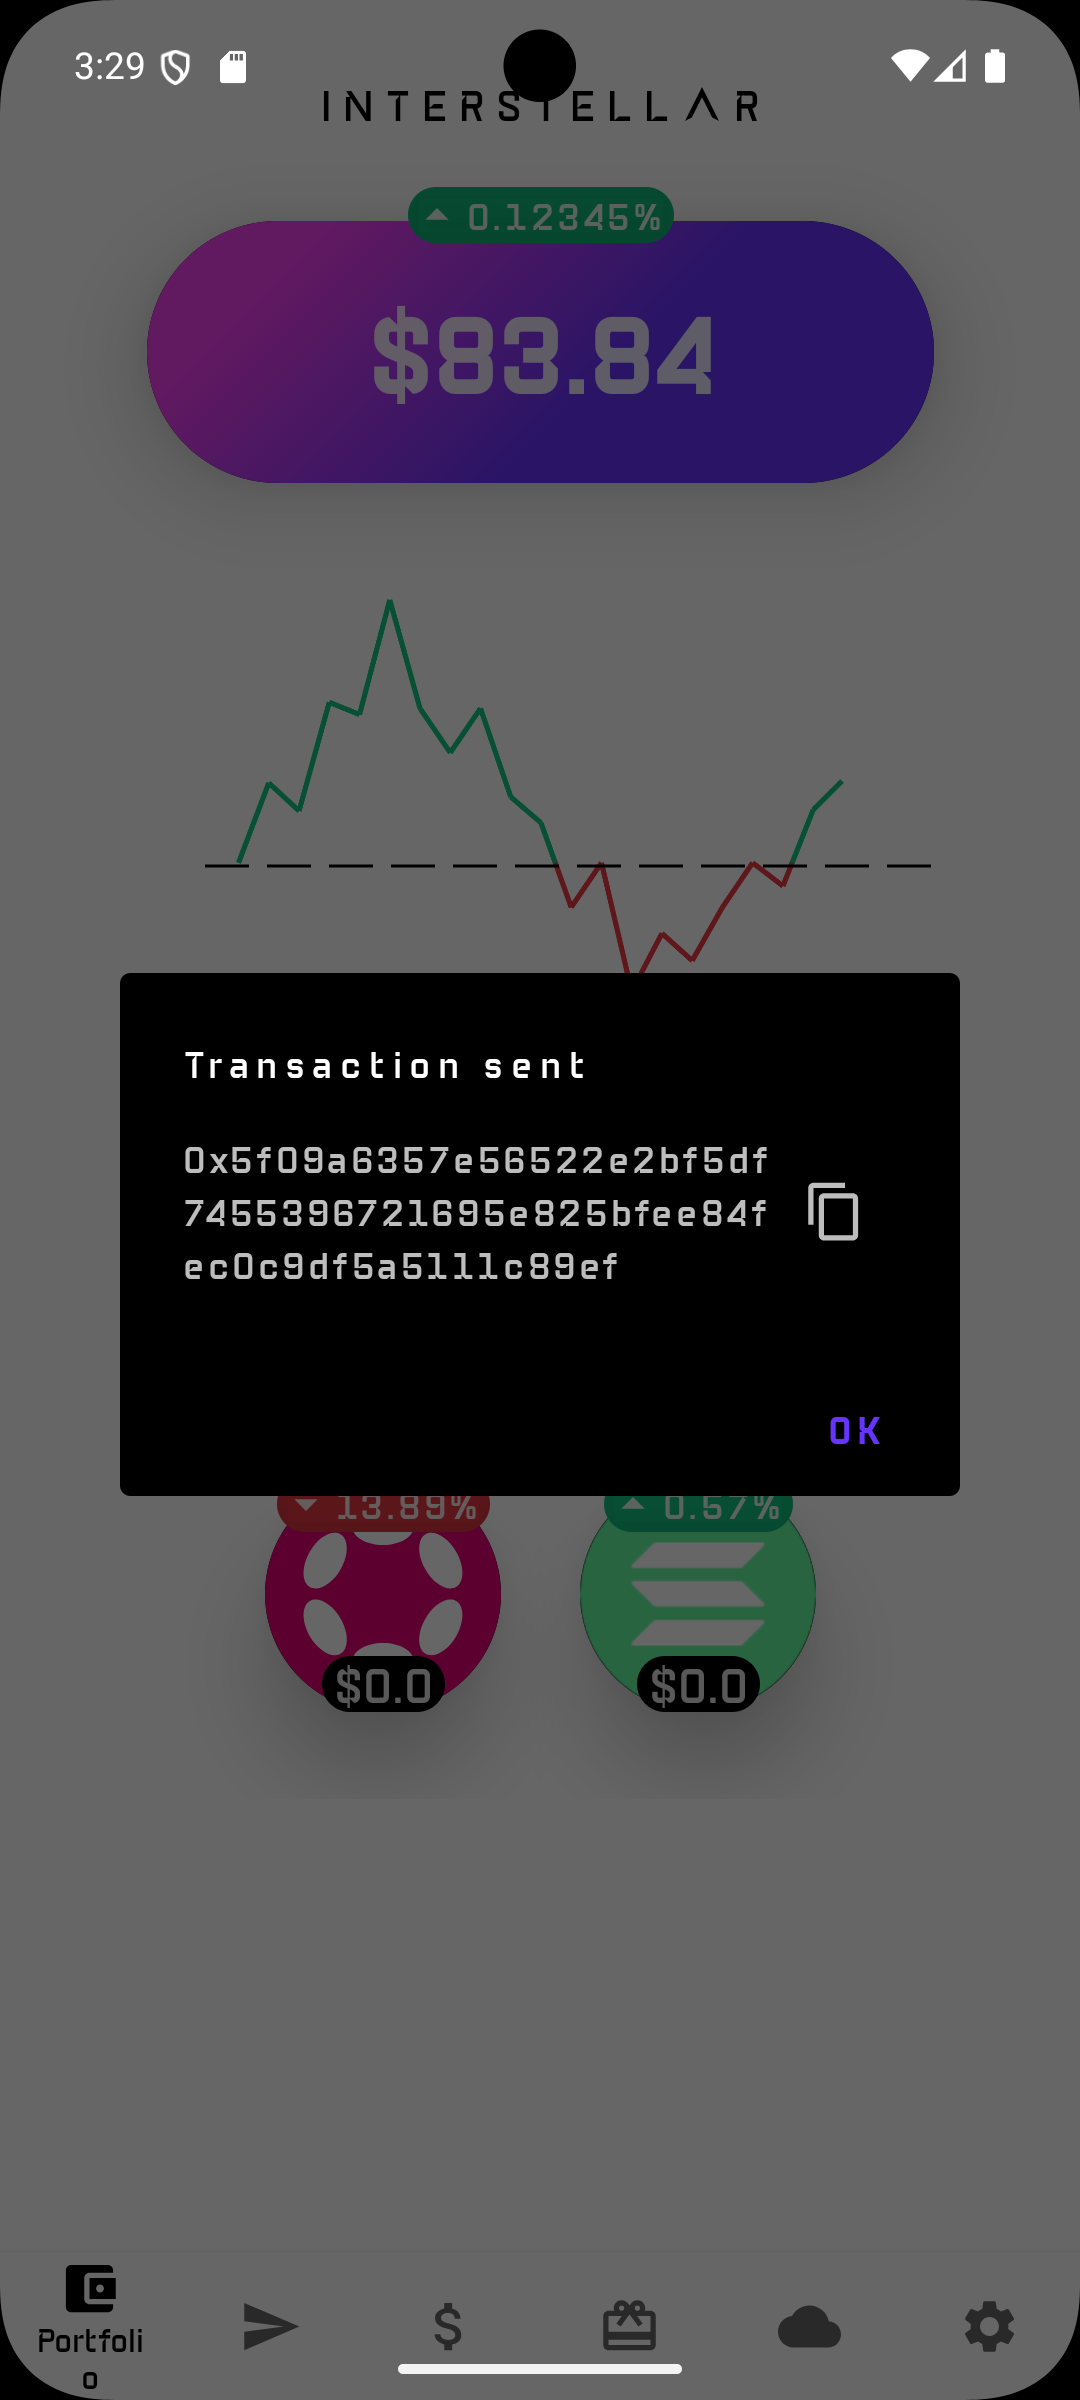
- If the transaction is validated, it is signed, brodcasted and a box displays the transaction hash.
Example validated flow
The C-Logs included below correspond to a successful Ethereum Sepolia transfer with:
- funded account balance: 0.0004 ETH
- transfer amount: 0.00035 ETH
- fee type: Normal
- VCA triggered because the transaction is above threshold
Expected functional result
The wallet:
- prepares the Ehereum transaction,
- checks available balance,
- computes the fee,
- signs the transaction,
- pauses because the transaction is above threshold,
- generates and stores the VCA commitment,
- waits for user confirmation on the Action Confirmation Screen,
- validates the user input,
- broadcasts the transaction successfully.
3 — Other reown lab Dapps (not Mandatory for the tests)
Feel free to try other Dapps; but not all of these have been tested, and some require capabilities that are not part of Interstellar SDK supported use cases.
In addition even on working Dapps, not all buttons work eg. Sign and Send Transaction (Dapp) works but some NOT with Sign and Send Transaction (Wallet)".
If you want to explore other reown Dapps: Go to the main reown Dapp page
4 — Test WalletConnect connectivity with production Dapps
In addition to Reown Lab, WalletConnect connectivity can also be sanity-checked against public production Dapps such as Aave Pro, Uniswap on Ethereum and Jupiter on Solana by using their standard Connect Wallet flow. This is useful to confirm interoperability of the WalletConnect session layer with real Dapp frontends beyond the dedicated test environment.
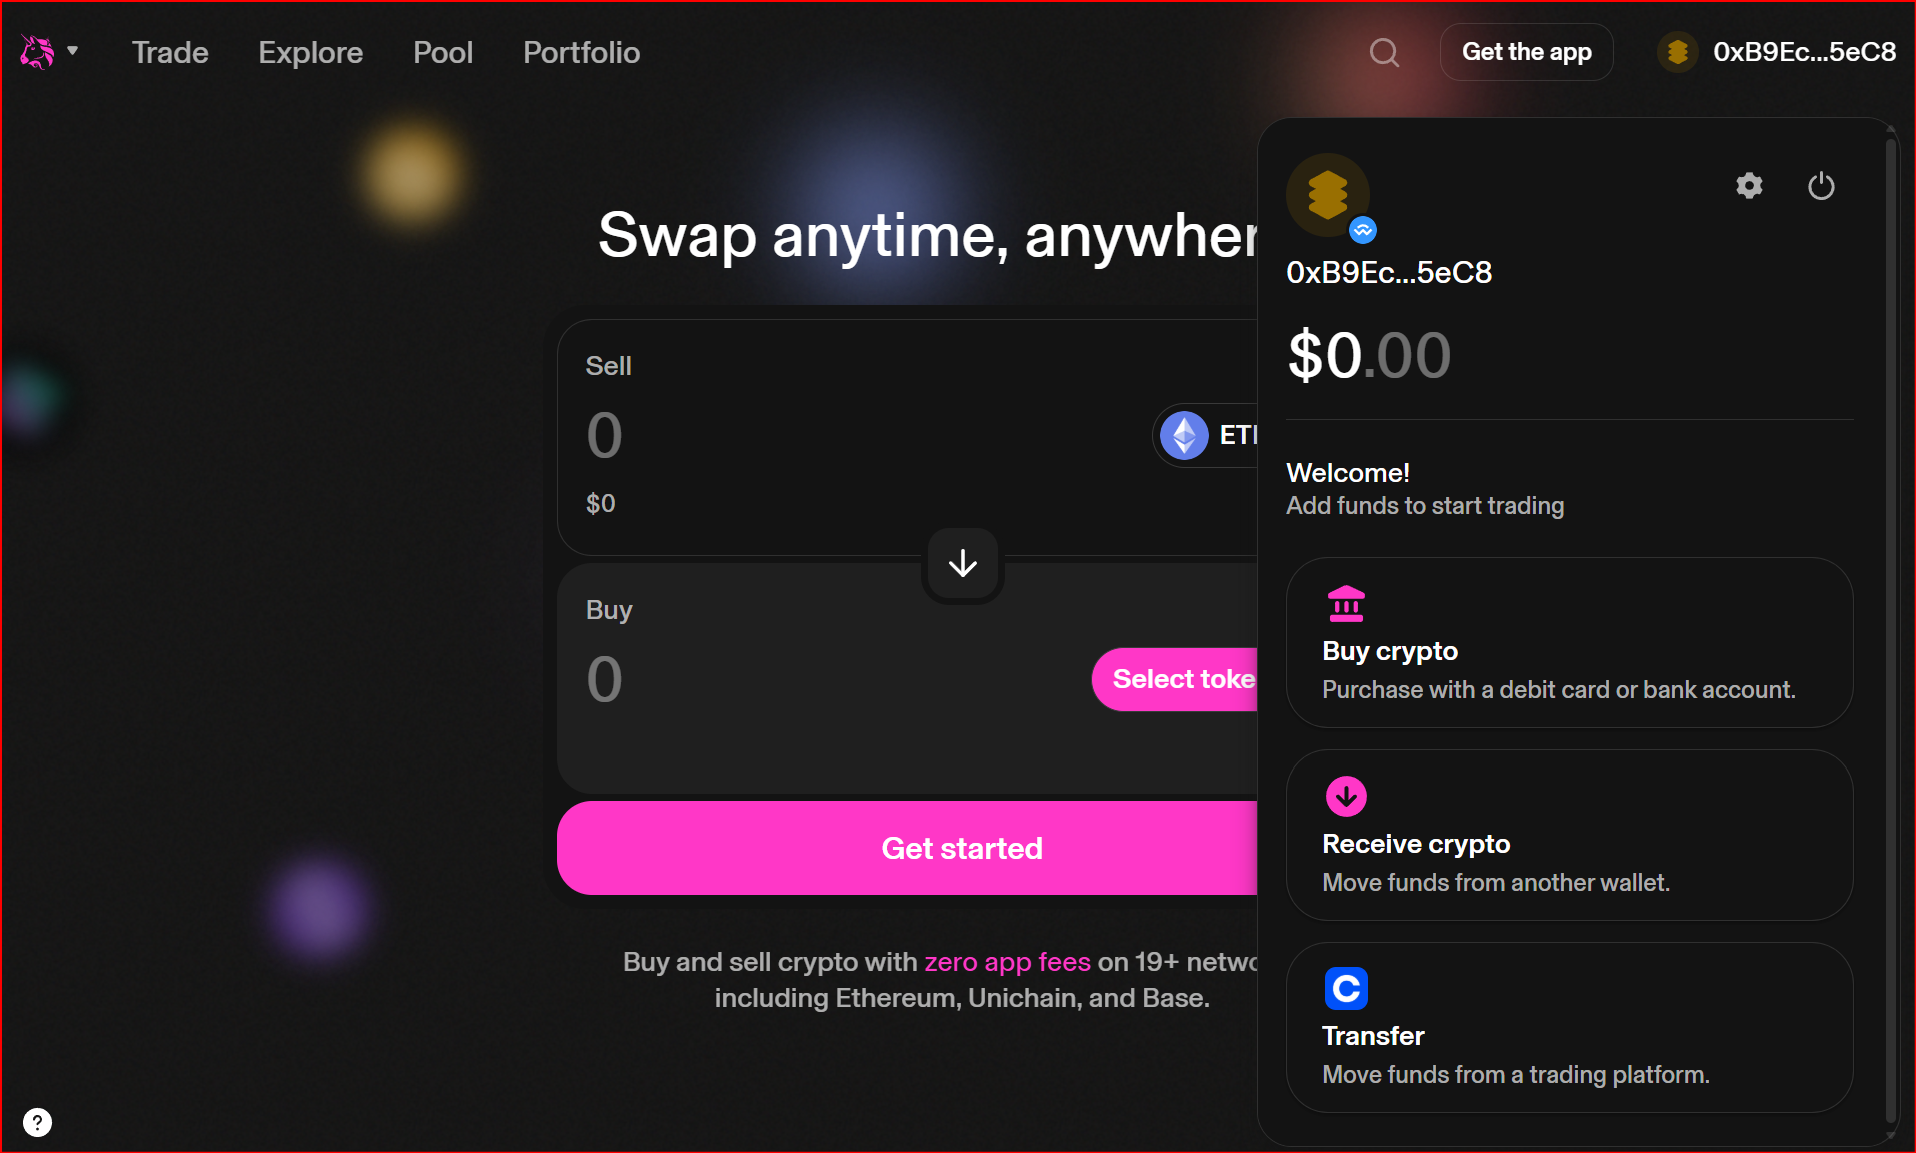
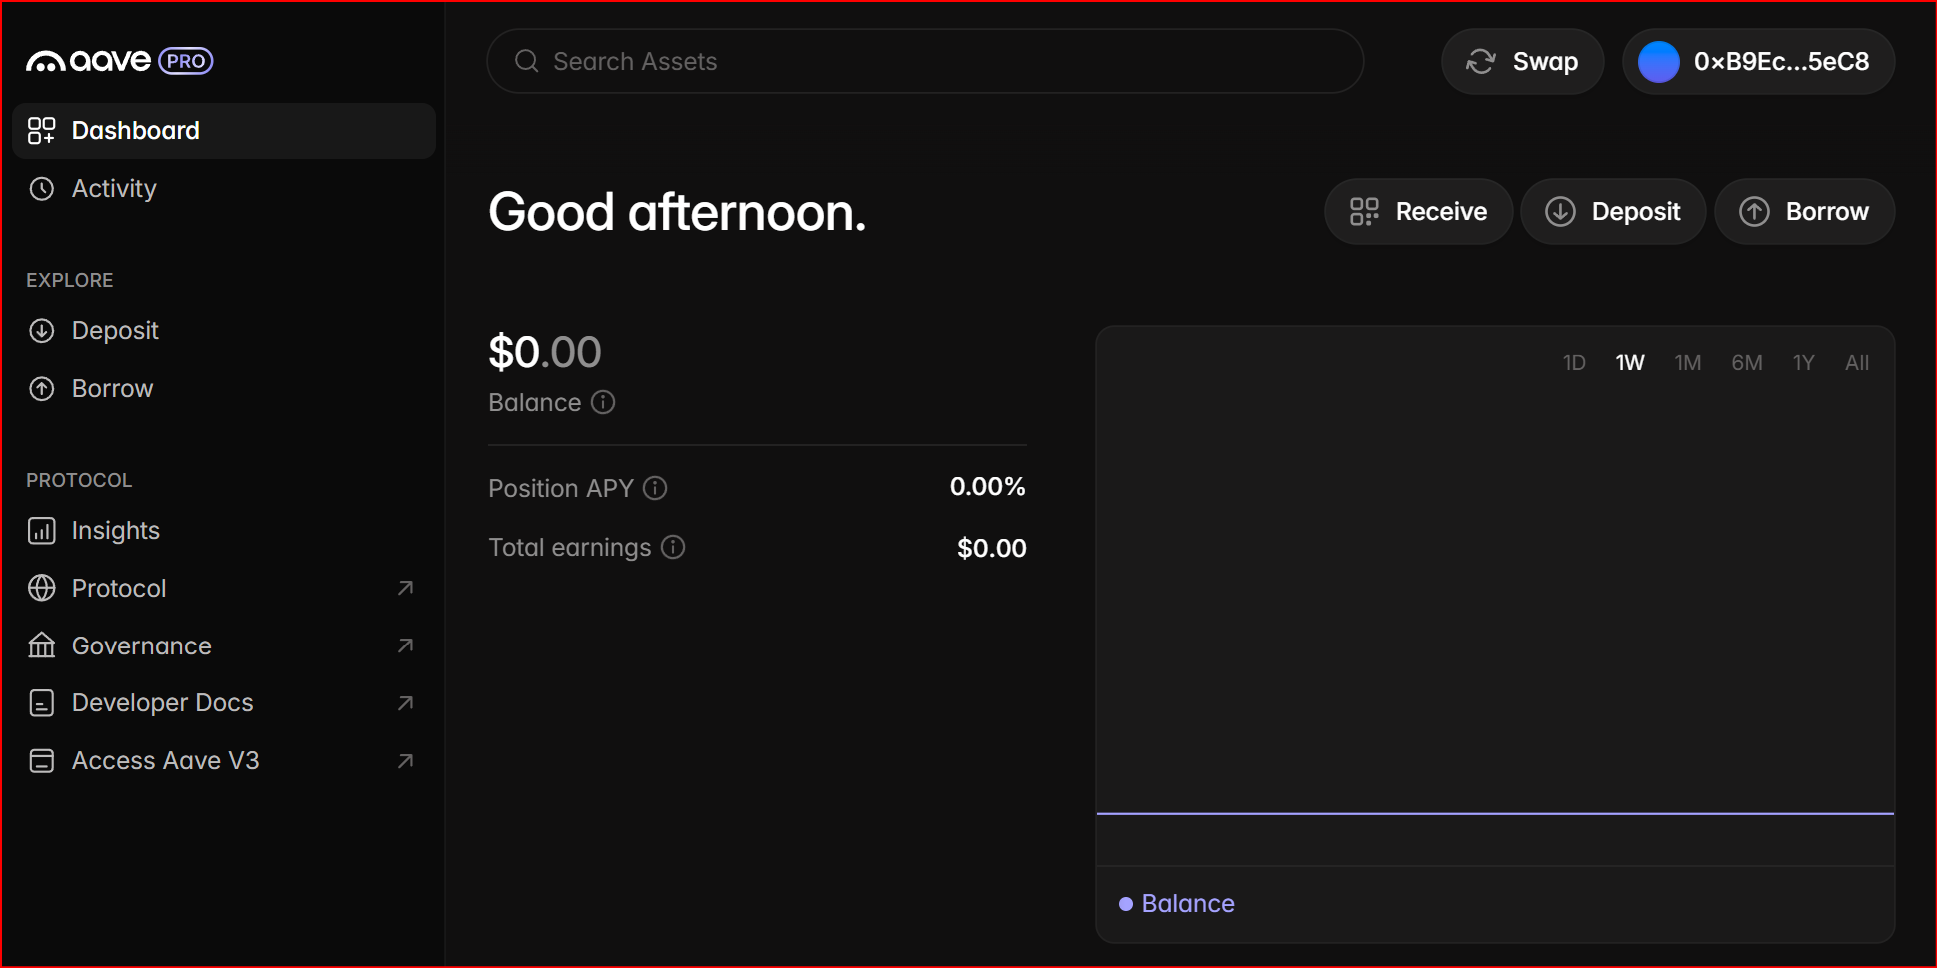
Those Dapps do not handle Ethereum Sepolia nor Solana Devnet so they won't appear in the balance. In addition, it is not in the scope of this milestone to extensively test the interactivity with such Dapps even in the case you would fund the Ethereum and Solana accounts with mainnet ETH and SOL.
🛠️ Interpreting Logs
This section explains the logs that reviewers should expect for the main validated scenarios covered by this tutorial:
A — Logs after connecting to the Dapp
After the WalletConnect URI is pasted and the connection is established, the wallet refreshes chain-specific account data.
1. Signature verification and account resolution
These lines show that the request is authenticated and the account context is being resolved:
[DEBUG interstellar_extended_signature] ExtendedSignature::Secp256r1 START
[DEBUG interstellar_extended_signature] ExtendedSignature::verify_secp256r1_signature START
[DEBUG interstellar_extended_signature] ExtendedSignature: sig parsed OK
[DEBUG interstellar_extended_signature] ExtendedSignature: verifying_key parsed OK
2. Solana address fetch and balance lookup
These lines show that the wallet resolves the Solana address and queries the Devnet balance:
[INFO  sol_client::client] [get_sol_address]: START
[INFO  sol_client::client] [get_balance_account_str] Fetching balance for account: HAcrhnmhzccnfRWUKafVziDXamytTGiC1xC3xLxL416t
[DEBUG sol_client::rpc] [send_request] Sending RPC request for method: getBalance
When the wallet has not yet been funded, the returned balance is zero:
[DEBUG sol_client::rpc] [send_request] Received response for method getBalance: ... "value":0 ...
[INFO  sol_client::client] [get_balance_account_str] Balance fetched for account HAcrhnmhzccnfRWUKafVziDXamytTGiC1xC3xLxL416t: 0
After the wallet receives 0.5 SOL, the balance query returns:
[DEBUG sol_client::rpc] [send_request] Received response for method getBalance: ... "value":500000000 ...
This corresponds to:
500000000 lamports 0.5 SOL
3. Other supported balances may also be queried
The current wallet view also fetches other chain balances linked to the account state. For example:
DOT / Substrate-style account query
[INFO  dot_client::client] [get_account] Fetching account address for:
[DEBUG dot_client::client] [get_balance_internal] Querying account:
[DEBUG dot_client::client] [get_balance_internal] Result is null, returning default account info
Bitcoin balance query
[DEBUG btc_client::client] get_balance: START
[INFO  btc_client::client] parse_utxos_from_response: SUCCESS: parsed 0 UTXOs, total_value=0 sats
Ethereum balance query
[DEBUG eth_client::client] fetch_balance: START
[DEBUG eth_client::client] fetch_balance: RPC response = RpcResponse { result: Some("0x0"), error: None }
Reviewer interpretation
If you see:
- successful Secp256r1 verification logs,
- a Solana address lookup,
- a getBalance RPC call, and a returned value of 0 or later 500000000,
then the WalletConnect session is active and the wallet is correctly refreshing the connected account state for Solana Devnet.
Expected non-blocking warnings
The following warnings appear in the logs and are expected in this environment:
[WARN  sp_io::storage] storage::start_transaction unimplemented
[WARN  sp_io::storage] storage::commit_transaction unimplemented
They do not indicate failure of the WalletConnect flow or of the Solana transaction flow shown in this tutorial.
B — Logs for the Ethereum Sepolia transaction signing flow without VCA
This flow corresponds to the Ethereum Sepolia transaction generated by the Reown test Dapp, using its predefined destination address (the current test flow targets Vitalik’s address).
Unlike the Solana Devnet approval flow, this Ethereum Sepolia example demonstrates a transaction that is:
- received through the WalletConnect session,
- prepared and signed by Interstellar’s transaction pipeline,
- classified as below the configured validation threshold,
- therefore auto-approved, without triggering PoHI / VCA,
- and then broadcast successfully.
1. Signature verification and request authentication
The request first goes through the usual signature verification flow:
[DEBUG interstellar_extended_signature] ExtendedSignature::Secp256r1 START
[DEBUG interstellar_extended_signature] ExtendedSignature::verify_secp256r1_signature START
[DEBUG interstellar_extended_signature] ExtendedSignature: sig parsed OK
[DEBUG interstellar_extended_signature] ExtendedSignature: verifying_key parsed OK
This confirms that the trusted request is properly authenticated before transaction preparation starts.
2. Ethereum transaction preparation starts
The transaction manager then starts preparing the ETH transaction:
[INFO pallet_tx_manager::pallet] [prepare_transaction] START - account=, chain=ETH, amount=Fixed(1000000), fee_type=Normal
This confirms that the WalletConnect-originated request has been routed into the Ethereum transaction preparation flow.
3. Wallet balance is fetched successfully
The wallet fetches the ETH Sepolia balance of the account:
[DEBUG eth_client::client] fetch_balance: formated address = "0xb9ecdf4662b99cee5fe443cde8da21a9e99b5ec8"
[DEBUG eth_client::client] fetch_balance: RPC response = RpcResponse { result: Some("0xb1a2bc2ec50000"), error: None }
[INFO  pallet_tx_manager::pallet] [prepare_transaction] balance = 50000000000000000
This corresponds to:
50000000000000000wei0.05ETH
So the wallet has sufficient balance to process the request.
4. EIP-1559 fee estimation is computed
The Ethereum client then fetches the current fee data:
[DEBUG eth_client::client] fetch_latest_base_fee: got: 1998333656
[DEBUG eth_client::client] fetch_max_priority_fee: got: 1000873
[DEBUG eth_client::fee] [eth-fee] fee_type=Normal, base_fee=1998333656, priority_fee=1000873 -> max_fee=3997668185, max_priority=1000873
[INFO  eth_client::client] ETH prepare_transaction: fee_type=Normal, base_fee=1998333656, max_fee=3997668185, priority=1000873
This shows that the transaction is prepared as an EIP-1559 transaction, with:
a fetched base fee, a fetched max priority fee, and a computed max fee for broadcast.
5. The transaction is signed successfully
The wallet then unseals the signing seed, signs the transaction, and zeroes the seed again:
[DEBUG pallet_key_manager::pallet] [unseal_seed] Delegating to crypto_ops::unseal_seed
[DEBUG pallet_key_manager::pallet] [do_sign_prehashed] Seed unsealed successfully, proceeding with signing
[DEBUG pallet_key_manager::pallet] [do_sign_prehashed] Seed zeroed after signing
[DEBUG eth_client::client] create_eip1559_signed_rlp: START
This confirms that the Ethereum transaction has been signed successfully and serialized into signed EIP-1559 RLP format.
6. No VCA is triggered
The key line for this flow is:
[INFO pallet_tx_manager::pallet] [prepare_transaction] Below threshold, auto-approving transaction
This proves that:
- the transaction policy check was applied,
- the request was classified as below threshold,
- and therefore no Action Confirmation Screen / PoHI / VCA step was required.
This is the expected behavior for this Ethereum Sepolia test flow.
7. The signed transaction is broadcast successfully
The signed raw transaction is then sent to the Ethereum Sepolia network:
[DEBUG eth_client::client] send_raw_transaction: START
[INFO  pallet_tx_manager::pallet] [prepare_transaction] Auto-approved transaction broadcast successful: 0xd682f2be4703224500124ec5fe4d69467796cadb100e7e2f0b4cdc800630f17a
C — Logs for the Ethereum Sepolia transaction flow with VCA
This flow corresponds to an Ethereum Sepolia interaction in which the Dapp first requests a message signature through WalletConnect, and then initiates an ETH transaction that is classified as above the configured validation threshold.
In this captured sequence, the flow demonstrates:
- WalletConnect session activity with an ETH account,
- a Dapp message-signing request handled by Interstellar,
- a transaction request routed into the ETH transaction pipeline,
- threshold evaluation resulting in VCA being required,
- VCA challenge generation and storage,
- user validation through the Action Confirmation Screen,
- and successful transaction broadcast.
1. Initial ETH account activity and balance lookup
Before the signing flow, the wallet is already able to resolve and query the ETH account:
[DEBUG eth_client::client] fetch_balance: formated address = "0x62a43b07a2a0287622550dddb144b7df193bf6eb"
[DEBUG eth_client::client] fetch_balance: RPC response = RpcResponse { result: Some("0x16bcc41e90000"), error: None }
This corresponds to:
- 0x16bcc41e90000 wei
400000000000000wei0.0004ETH
This confirms that the ETH account used in the WalletConnect flow is resolved correctly and has a non-zero Sepolia balance.
2. WalletConnect sign-message request is received
The next key step is the WalletConnect sign-message request. The signed payload clearly shows that the request comes from lab.reown.com and asks the wallet to sign in with the Ethereum account.
Relevant excerpt from the verified message payload:
lab.reown.com wants you to sign in with your Ethereum account:
0x62a43b07a2a0287622550dddb144b7df193bf6eb

Please sign with your account

URI: https://lab.reown.com
Version: 1
Chain ID: 11155111
...
Issued At: 2026-04-30T15:58:19.304Z
The corresponding logs show:
[DEBUG pallet_tx_manager::pallet] request_sign_message: START - account=, chain=ETH
[DEBUG pallet_key_manager::pallet] [unseal_seed] Delegating to crypto_ops::unseal_seed
[DEBUG pallet_key_manager::pallet] [do_sign_prehashed] Seed unsealed successfully, proceeding with signing
[DEBUG pallet_key_manager::pallet] [do_sign_prehashed] Seed zeroed after signing
[INFO  pallet_tx_manager::pallet] Successfully signed message and stored signature for account
Interpretation:
This proves that the wallet can:
- receive a WalletConnect message-signing request,
- sign the payload with the ETH account,
- and return a valid signature to the Dapp.
This is an important interoperability point because it demonstrates WalletConnect compatibility not only for transactions, but also for standard Dapp message-signing flows.
3. Ethereum transaction preparation starts
After the sign-message step, the Dapp initiates an ETH transaction request.
The transaction manager starts processing it here:
[INFO pallet_tx_manager::pallet] [prepare_transaction] START - account=, chain=ETH, amount=Fixed(350000000000000), fee_type=Normal
Interpretation:
350000000000000wei0.00035ETH
So this is an ETH Sepolia transfer of 0.00035 ETH.
4. ETH balance is fetched and checked
The wallet fetches the sender balance again:
[DEBUG eth_client::client] fetch_balance: formated address = "0x62a43b07a2a0287622550dddb144b7df193bf6eb"
[DEBUG eth_client::client] fetch_balance: RPC response = RpcResponse { result: Some("0x16bcc41e90000"), error: None }
[INFO  pallet_tx_manager::pallet] [prepare_transaction] balance = 400000000000000
Interpretation:
- available balance = 0.0004 ETH
- requested transfer = 0.00035 ETH
So the account balance is sufficient for the transfer plus fees.
5. EIP-1559 fee calculation is performed
The ETH client then computes the fee parameters:
[DEBUG eth_client::client] fetch_latest_base_fee: got: 1551035
[DEBUG eth_client::client] fetch_max_priority_fee: got: 1000000
[DEBUG eth_client::fee] [eth-fee] fee_type=Normal, base_fee=1551035, priority_fee=1000000 -> max_fee=4102070, max_priority=1000000
[INFO  eth_client::client] ETH prepare_transaction: fee_type=Normal, base_fee=1551035, max_fee=4102070, priority=1000000
This confirms that the transaction is prepared as an EIP-1559 ETH transaction, with:
- base fee fetched from Sepolia,
- priority fee fetched,
- and max fee computed before signing.
6. The ETH transaction is signed successfully
The transaction is then signed by the wallet:
[DEBUG pallet_key_manager::pallet] [unseal_seed] Delegating to crypto_ops::unseal_seed
[DEBUG pallet_key_manager::pallet] [do_sign_prehashed] Seed unsealed successfully, proceeding with signing
[DEBUG pallet_key_manager::pallet] [do_sign_prehashed] Seed zeroed after signing
[DEBUG eth_client::client] create_eip1559_signed_rlp: START
This confirms successful transaction signing and serialization into signed EIP-1559 format.
7. Threshold evaluation triggers VCA
The decisive line for this flow is:
[INFO pallet_tx_manager::pallet] [prepare_transaction] Above threshold, requiring VCA confirmation
This shows that:
- the ETH transaction has been evaluated against Interstellar’s transaction policy,
- it is classified as above threshold,
- and therefore cannot be broadcast immediately.
Instead, it must go through the PoHI / VCA approval flow.
8. A human-readable transaction message is generated
The transaction manager generates the action summary that will be tied to the confirmation flow:
[DEBUG pallet_tx_manager::pallet] [generate_tx_message] Generated message: Transfer 0.00035 ETH to 0xb4ba1...e0a79
This is the human-readable transaction message associated with the VCA validation.
It confirms that the approval challenge is tied to a specific action, namely:
- asset: ETH
- amount: 0.00035 ETH
- destination: 0xb4ba1...e0a79
9. The VCA commitment is created and stored
The VCA challenge metadata is then generated and stored:
[INFO  pallet_tx_validation::pallet] [tx-validation] store_metadata_aux: who = , message_pgarbled_cid = "Qme6V7oajevdv7cmjgcycMrAos614hvFFLzZb1QfYRRtSB", message_digits = [9, 4], pinpad_digits = [9, 8, 3, 4, 0, 6, 2, 1, 7, 5]
[INFO  pallet_tx_validation::pallet] [tx-validation] store_metadata_aux: done!
[INFO  pallet_tx_manager::pallet] [ETH-client]-[tx-manager]- Commitment stored with cid="Qme6V7oajevdv7cmjgcycMrAos614hvFFLzZb1QfYRRtSB" digits=BoundedVec([9, 4], 4) pinpad_digits=BoundedVec([9, 8, 3, 4, 0, 6, 2, 1, 7, 5], 10)
[DEBUG pallet_tx_manager::pallet] store_pending_transaction: START - account=, pending_tx=PendingTransaction { ipfs_cid: <wasm:stripped>, signed_tx: <wasm:stripped>, chain: ETH }
[DEBUG pallet_tx_manager::pallet] store_pending_transaction: SUCCESS
Interpretation;
This shows that:
- the garbled confirmation payload is generated,
- the randomized confirmation metadata is stored,
- the signed ETH transaction is kept pending,
- and final broadcast is blocked until the user completes the VCA step.
10. User input is checked and VCA passes
When the user completes the Action Confirmation Screen, the validation engine checks the submitted digits:
[INFO  pallet_tx_validation::pallet] [tx-validation] check_input: who = , ipfs_cid = "Qme6V7oajevdv7cmjgcycMrAos614hvFFLzZb1QfYRRtSB", input_digits = [0, 3]
[INFO  pallet_tx_validation::pallet] [tx-validation] check_input: input_digits_str = "\0\u{3}", input_digits_int = [0, 3], pinpad_permutation = BoundedVec([9, 8, 3, 4, 0, 6, 2, 1, 7, 5], 10)
[INFO  pallet_tx_validation::pallet] [tx-validation] check_input: computed_inputs_from_permutation = [9, 4], message_digits = BoundedVec([9, 4], 10)
[INFO  pallet_tx_validation::pallet] [tx-validation] TxPass
[DEBUG pallet_tx_manager::pallet] VCA validation successful
Interpretation:
This is the proof that:
- the user completed the VCA challenge,
- the randomized input matched the expected message digits,
- and the transaction was authorized to continue.
11. The transaction is broadcast successfully
Once VCA passes, the signed ETH transaction is sent to Sepolia:
[DEBUG eth_client::client] send_raw_transaction: START
[INFO  pallet_tx_manager::pallet] Transaction broadcast successful: 0xbf035a807356f5972f7768f92f57c29d6830db0f4c70a97a9eae12a5f601e32a
This confirms that the ETH transaction was:
- prepared,
- signed,
- held pending,
- validated through VCA,
- and finally broadcast successfully.
Reviewer conclusion
If the logs show, in order:
- ETH account balance fetch,
- WalletConnect sign-message request from lab.reown.com,
- successful message signing,
- prepare_transaction ... chain=ETH,
- ETH balance and fee calculation,
- Above threshold, requiring VCA confirmation,
- generated message Transfer 0.00035 ETH ...,
- commitment stored with CID and randomized digits,
- TxPass,
- Transaction broadcast successful
then the Ethereum Sepolia WalletConnect flow has been validated successfully for:
- WalletConnect message-signing interoperability,
- ETH transaction preparation and signing,
- threshold-based escalation to VCA,
- PoHI / Action Confirmation Screen validation,
- and final broadcast after successful human confirmation.
Optional: Front-End Access
You can inspect chain state and transactions via:
- Polkadot.js Apps
- Or your preferred Substrate front-end UI
Notes
- All services run in Docker containers and use local ports
9944,2090, and5001 - This setup replicates the same runtime environment used in hosted testnets but fully self-contained
- Ideal for offline testing, developer evaluation, or deeper inspection of runtime logs
This Android application is provided as a technical demonstration of Interstellar’s secure Web3 account infrastructure. It serves as a foundation for the forthcoming Android and iOS SDKs, which are still under active development.
Please note that the current user interface and experience are not representative of the final product. Both UI and UX will be significantly refined to align with Interstellar’s core mission: delivering the highest levels of simplicity and security in mobile self-custody.
If you've jumped straight into the evaluation, we recommend consulting the Milestone 1 documentation for key context. It outlines the core architecture, backend logic, and trusted execution flows implemented in this milestone.
The documentation is modular—feel free to explore only the sections most relevant to your review or interest.
You can also use the search bar (top right corner) to locate specific topics quickly. Helpful keywords include:
VHDL,circuits,garbled,TEE,integritee,SE attestationNFC,VCA,recovery,threshold,trusted UXcomparison,passkey,ledger,authentication,compliance,security,ATT&CK